geometric
geometric
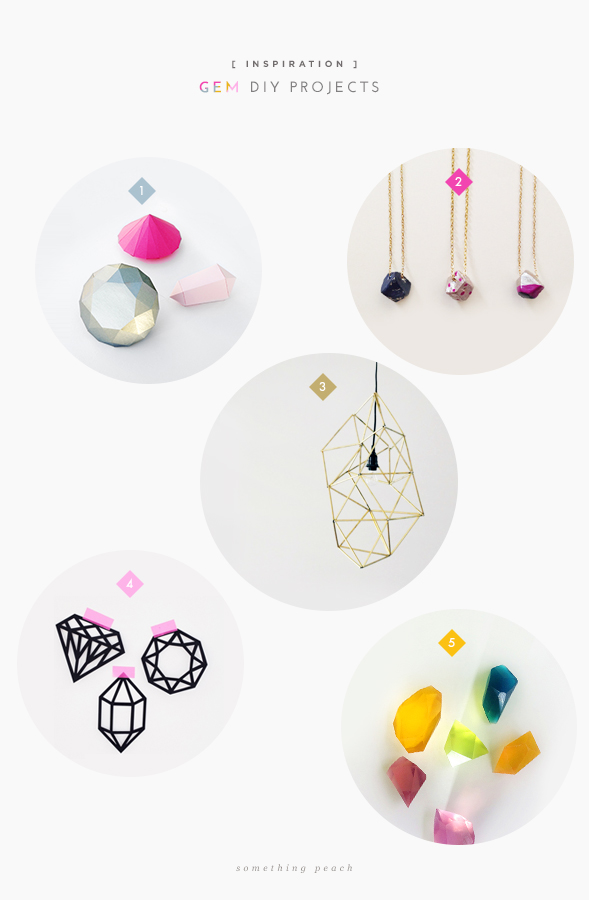
Gem projects have taken over the DIY world and I’m one of the biggest advocate! You must have noticed my love for gems if you followed me on instagram because I have painted a few myself:)
I’m sharing a collection of my favourites, hope you enjoy!
1. Paper Diamond – Minieco // 2. Geometric Necklace – Something Peach // 3. Light Fixture – Style me Pretty // 4. Paper Cut Gems – Minieco // 5. Glycerine soap gem – Mr Printables
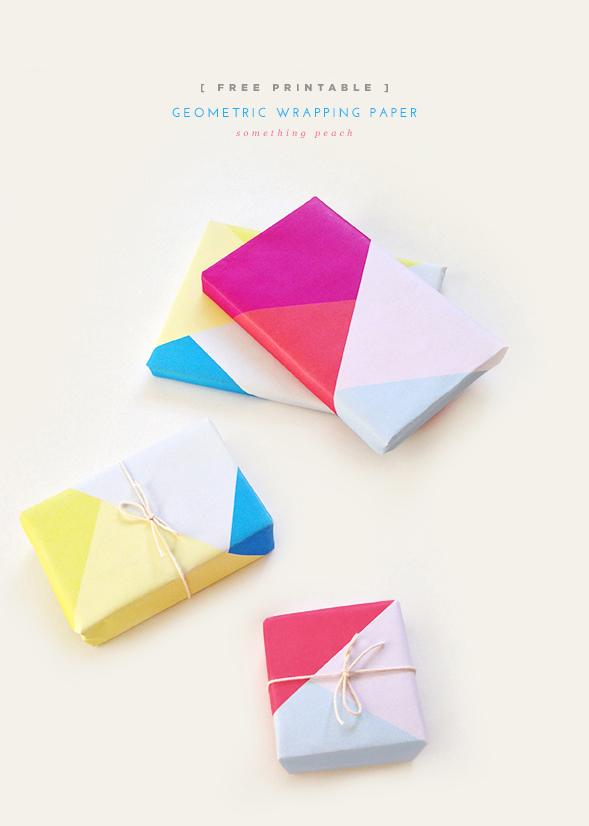
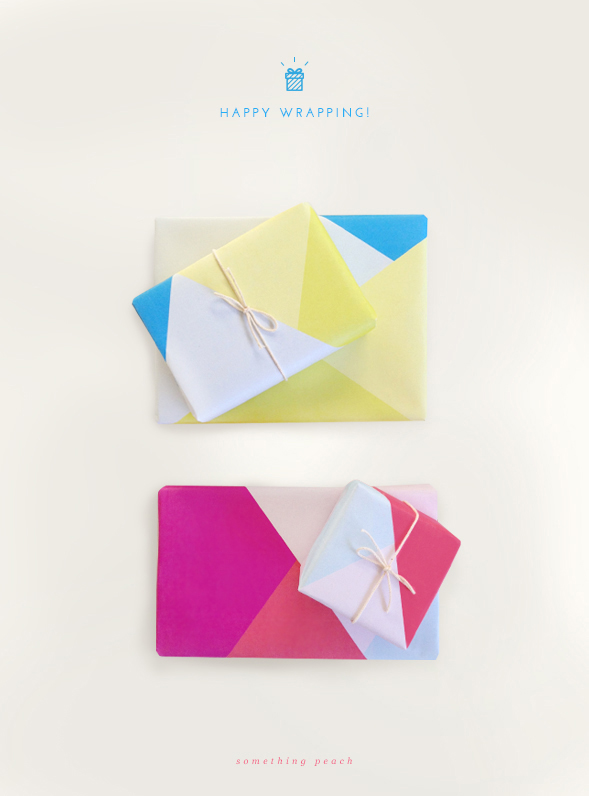
I’ve created free printable gift wrapping paper to continue my love for geometric shapes. Wrapping paper can be pricey, so why don’t you print your own to save money?
Simply download template and wrap however you like. Personal use only please. Enjoy wrapping!
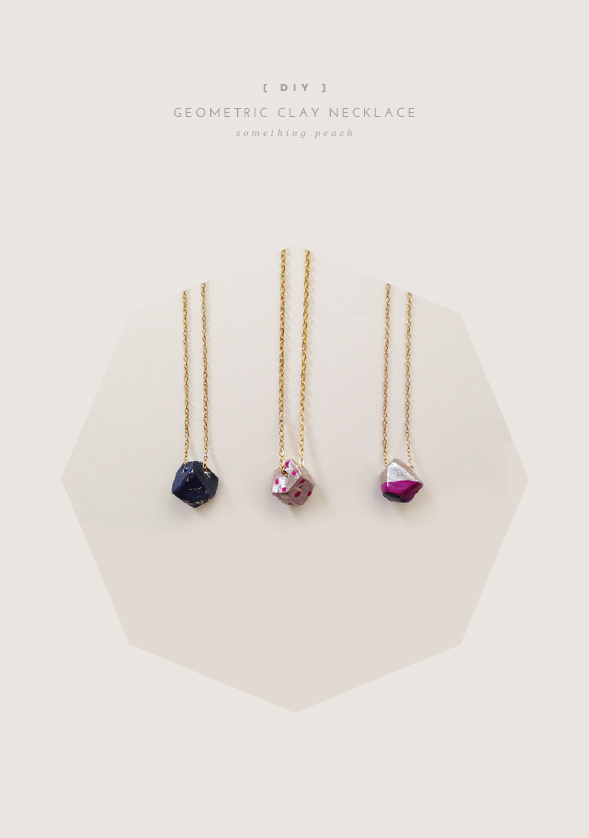
I have been obsessed with geometric shapes thesedays, so I decided to do another geometric DIY. Don’t spend a lot of money to buy a clay necklace as you can make your own that costs a bunch less!
I was supposed to get oven bake clay but accidentally got air dry clay. I think bake clay is a bit softer and has smooth finish, also takes only 30 min for hardening, comes in different colours. Air dry clay did a good job for this DIY though, so the decision is yours:)
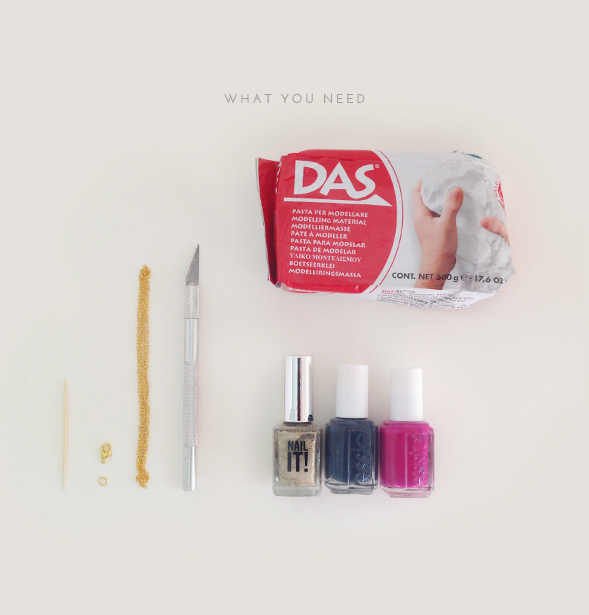
What you need
– Air dry clay (I’m using Das air dry clay) or bake clay
– Craft knife
– Nail polish
– Chains, jump rings, clasps
– Toothpick
How to make it
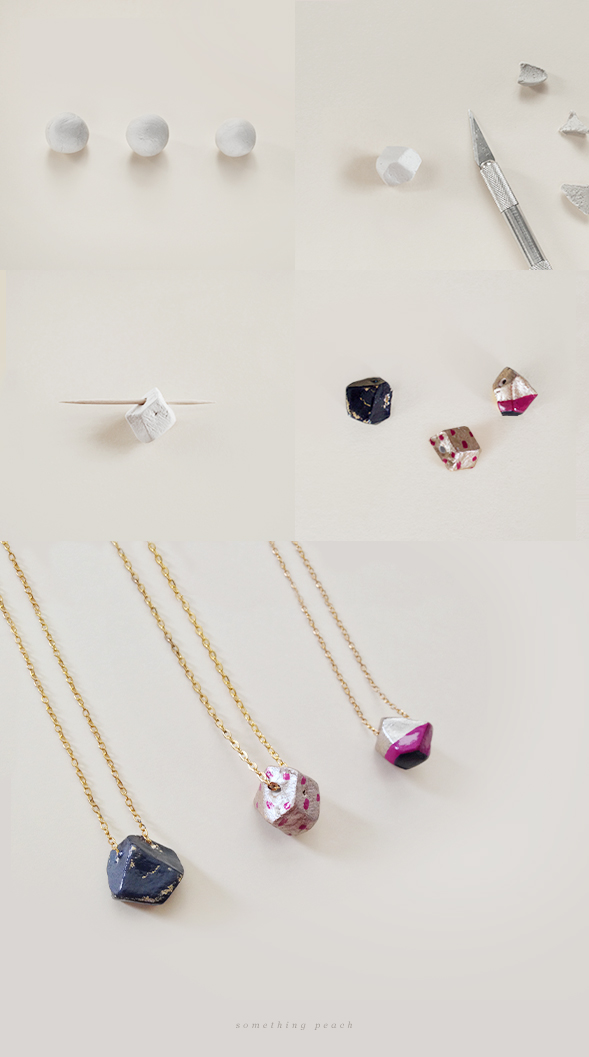
1. Knead the clay until it’s soft.
2. Roll the clay into small balls.
3. Cut the edges of the balls until you get the shapes you like.
4. Gently push the toothpick through the middle of the clay. Make sure you make a hole big enough for your chain to easily pass through.
5. Let the clay dry 24 hours.
6. Paint the clay with the nail polish. Try experimenting with different colour combinations and shapes.
7. Once the paint has dried, string them onto the necklace.
8. Enjoy!
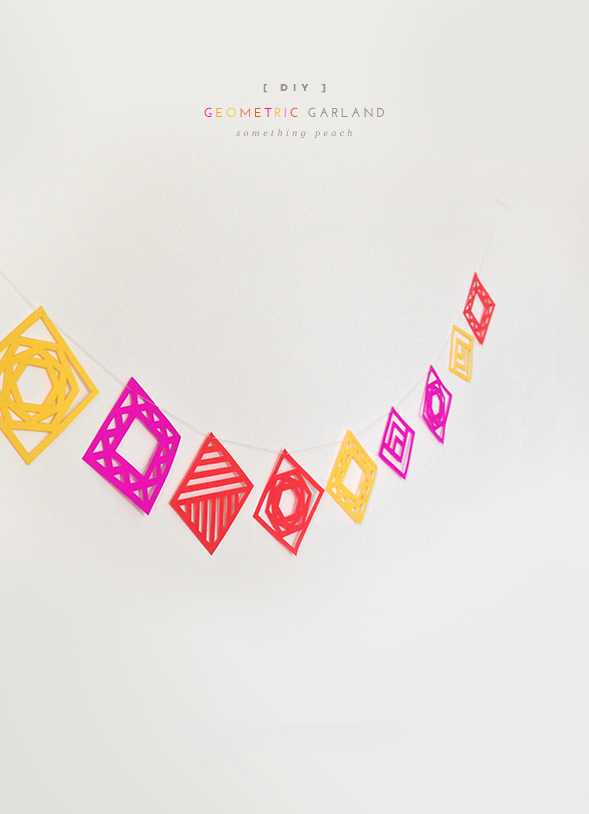
Happy Saturday! Today I felt like making something bright and delightful to get though this gloomy weather. I further explored my geometric inspiration post dated a few weeks ago and decided to make this cute and super easy geometric garland. It can be used to spice up your place, and can be perfect for special occasions; birthdays, baby showers and weddings and more… Feel free to play with different colour combination to create your own special garland:)
– A4 Coloured paper
– Cutting mat
– Ruler
– Craft knife
– String
– Scissors
– tape
How to make it
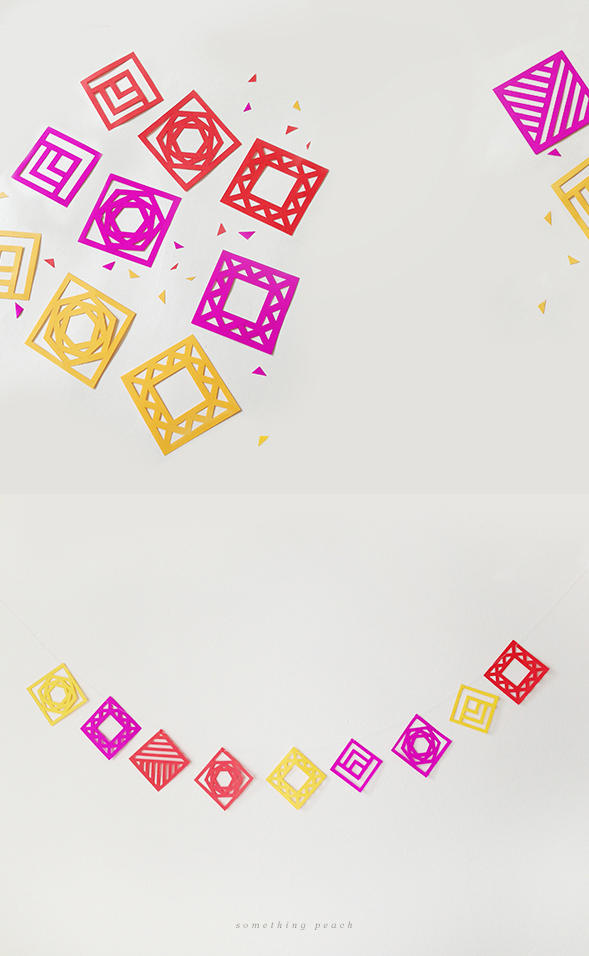
1. Download template (pdf)
2. Print the template on coloured paper
3. Carefully cut out the shapes
4. String the shapes onto a string
5. Hang up your garland with tape
6. Enjoy the party!
© 2014 somethingpeach | Site designed by Jinny Park | Themed by Mr Legacy
