party
party
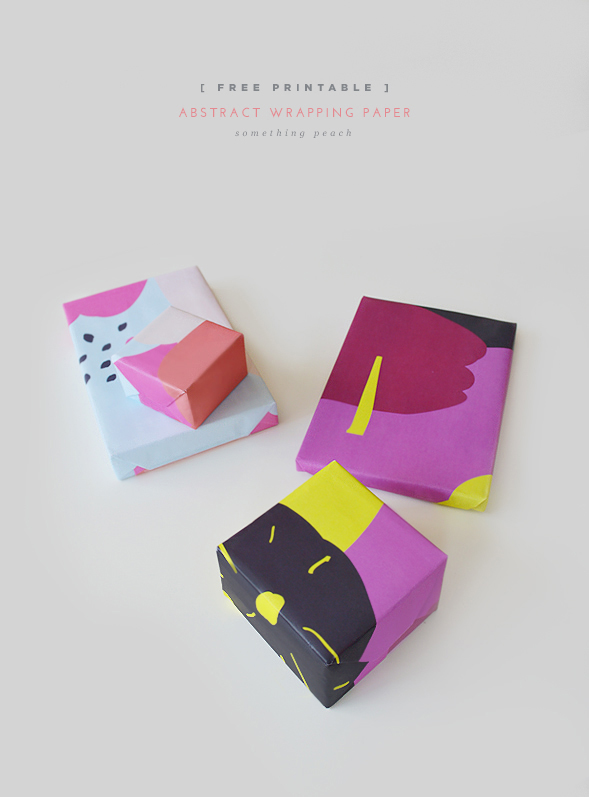
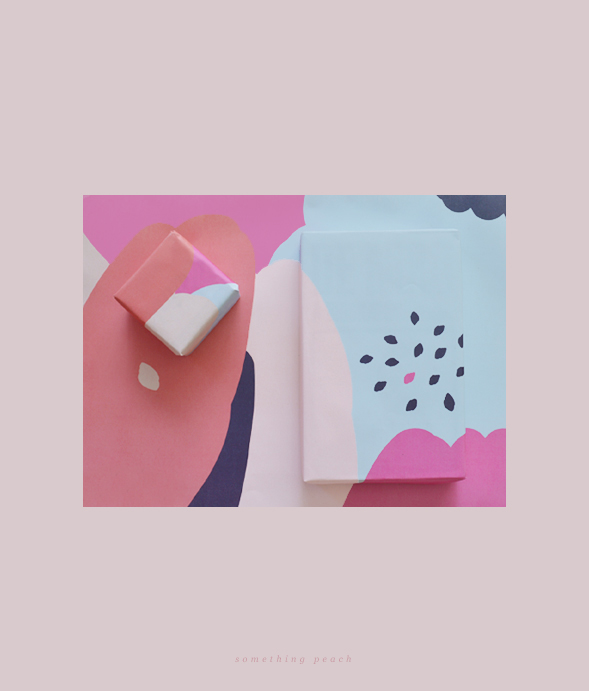
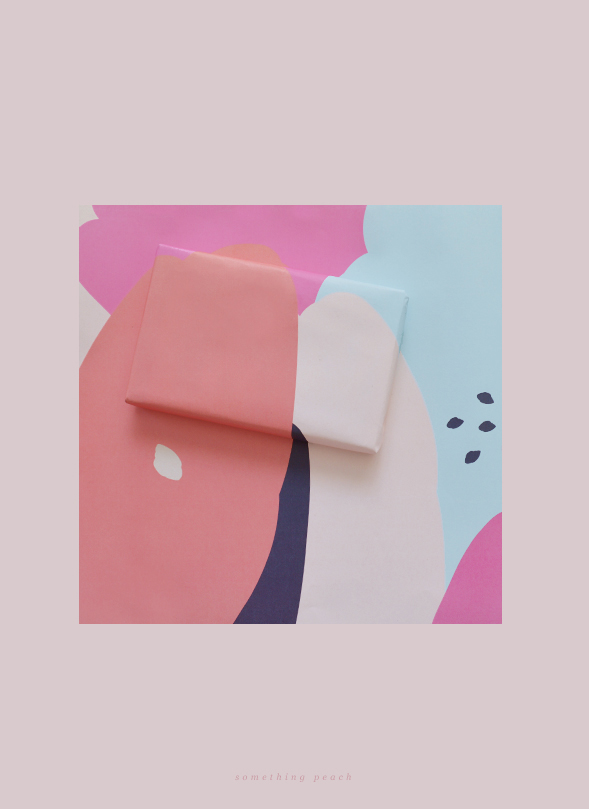
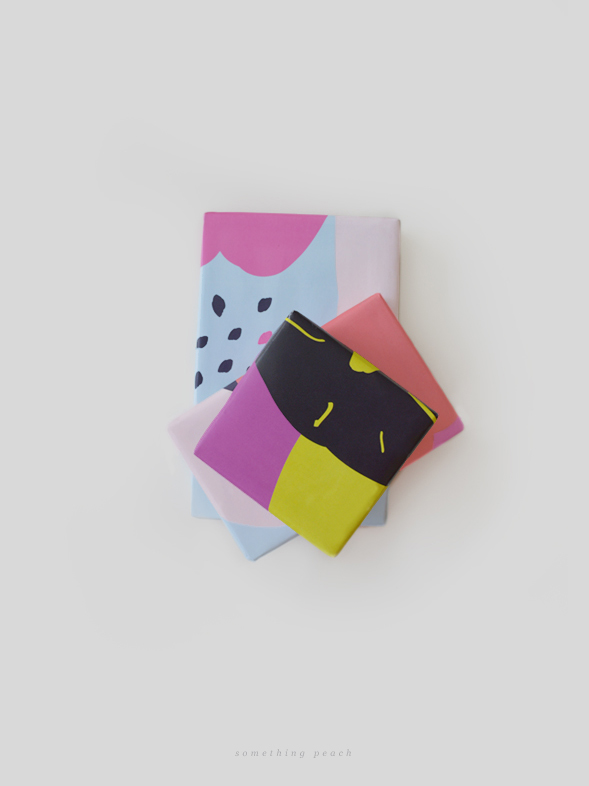
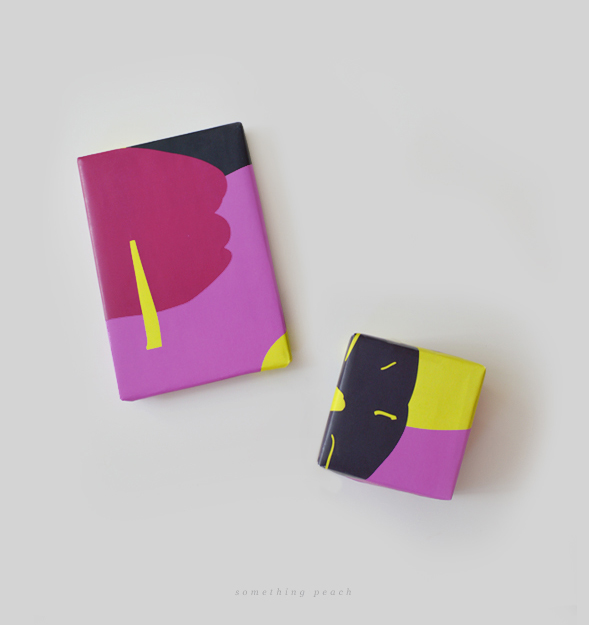
Today I’m sharing a set of two “Spring inspired” wrapping papers. It’s my second time designing wrapping papers, and I’m loving it! It was super fun playing with different shapes and various of bold and bright colours. I think they are perfect for prettying up your presents!
Simply download template and wrap however you like. Personal use only please. Happy wrapping! 🙂
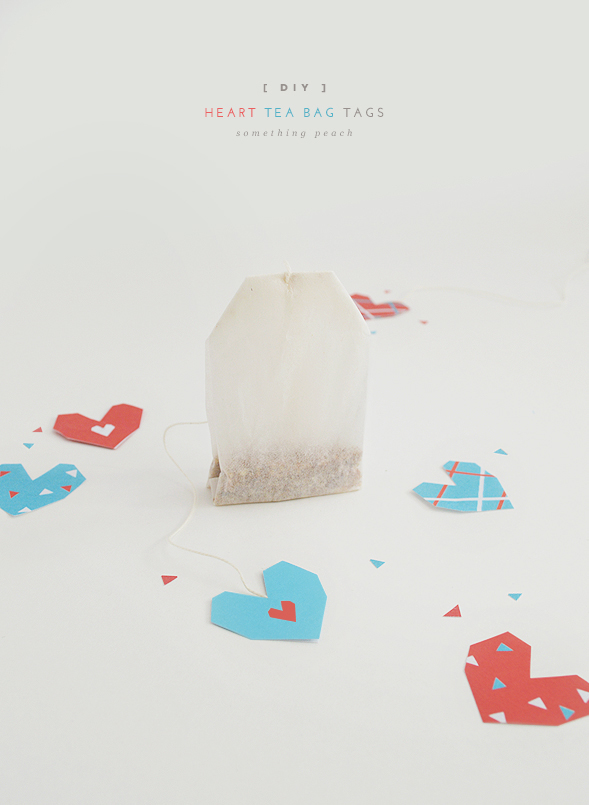 There’s nothing as refreshing and relaxing as a cup of tea. I am a big tea drinker and I always look for new teas to add to my tea collection.
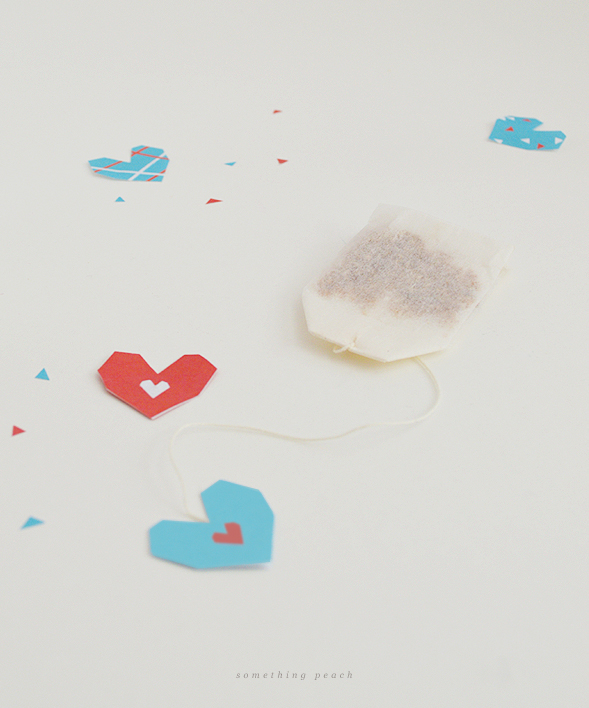
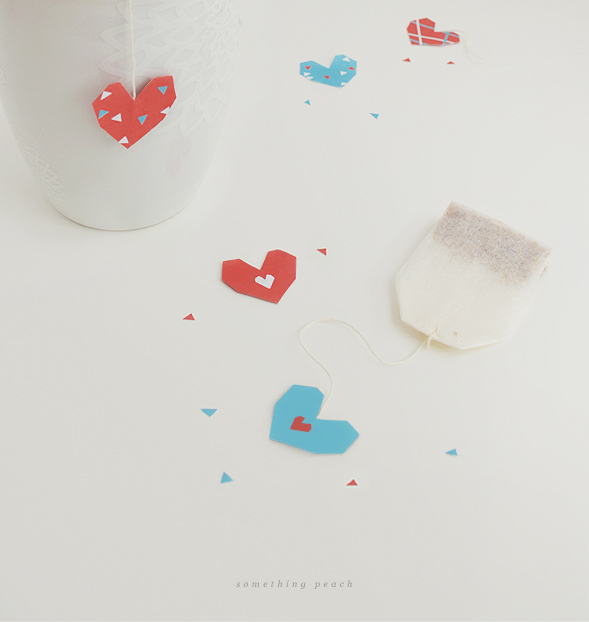
I found most of the tea bag tags look pretty plain and very uninspiring to look at, so decided to create this printable that will be perfect to be served to your guests for any occasion. Simply replace the original paper tags with these and enjoy! Download the template here:)
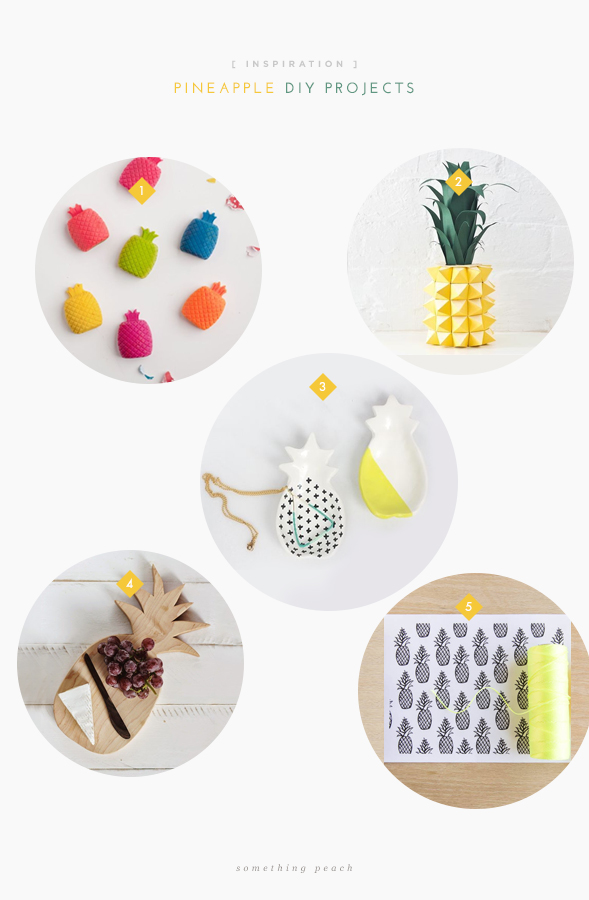
Happy Tuesday! Today I want to share some cool pineapple DIY projects I found recently. Who would’ve thought that pineapples would be the biggest trend? They are popping up everywhere from straws to cushions and clothes, and certainly took over the DIY world. They are super fun, colourful, bold and make great party decorations. Enjoy!
1. Pineapple Crayons – Tell love & Chocolate // 2. Pineapple Piñata – Studio DIY // 3. Pineapple Ring Dish – Jade and Fern // 4. Pineapple Cutting board – Poppytalk // 5. Free Printable Pineapple Wrapping Paper – Alice DiRago
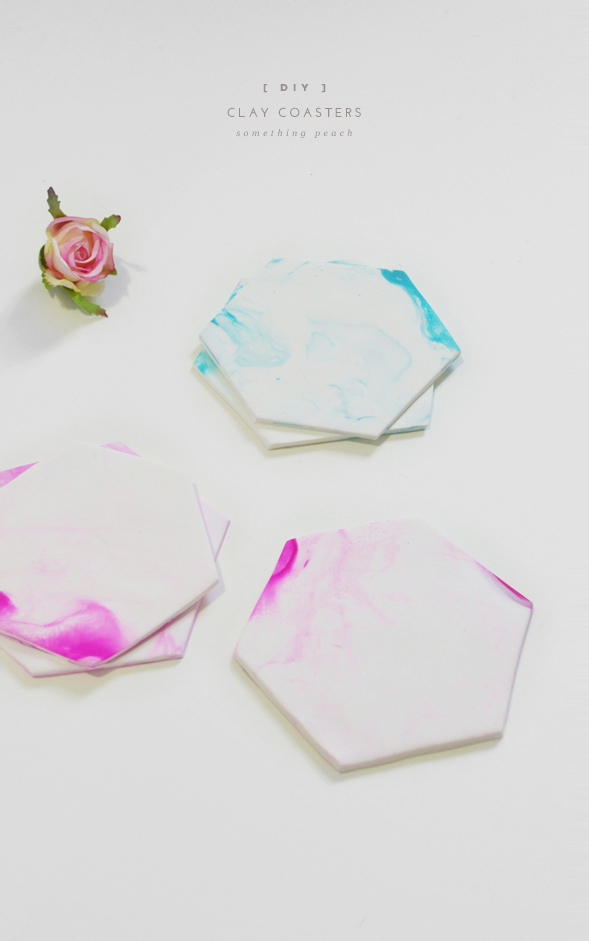
I was meant to post this project 2 days ago, but wasn’t able to because I was sick. I really dislike being sick, not being able to do anything and feeling completely helpless. It was very frustrating, especially when I had planned many things to do. I knew I wasn’t going to be productive no matter what I tried, so I decided to focus on my recovering by attempting nothing but sleep and meditation, leaving my phone and computer behind. I’m still in recovery mode but feel much better and in a brighter mood to resume blogging:)
Hope you are feeling healthy and well, motivated and ready to enjoy tackling this project!:) If you are looking for another similar DIY project, you can check out my first coaster project I posted a while ago.
What you need
– FIMO soft polymer modelling clay – White 350g & and Raspberry 56g (Enough for 5 coasters)
– Rolling pin
– Craft knife
– Oven
How to make it
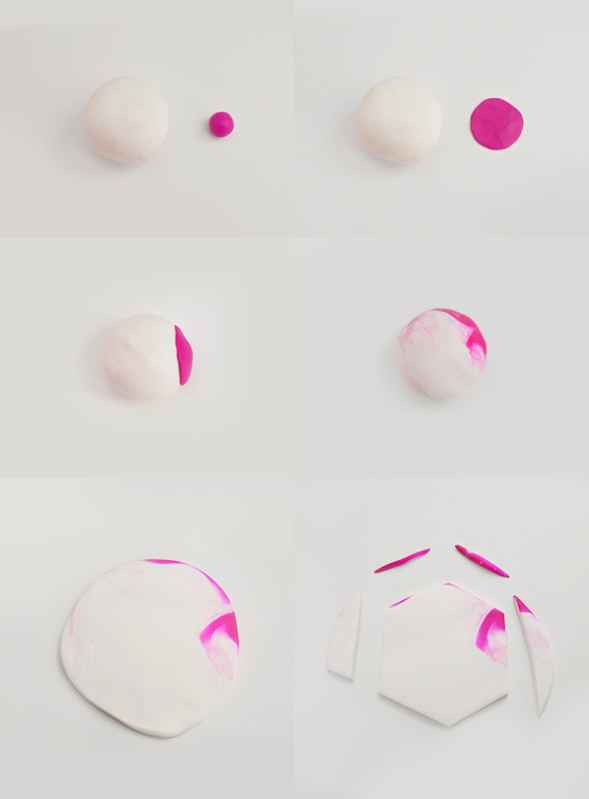
1. Roll the clay into a ball. Combine colours to your preference. (I used 1/5 of the white clay and just a small piece of raspberry clay.)
2. Flatten the raspberry ball into a flat circle. It’s quite small so you can easily do this using your hands.
3. Stick the raspberry circle on the side of the white ball.
4. Gently rub raspberry piece over the white ball in one direction to remove the harsh edge between the two. (I really wanted a water colour effect rather than a typical marble effect, so I experimented many times to find the best way to achieve this effect!)
5. Keep rubbing until you get the desired pattern.
6. Use a rolling pin or a similar tool to roll the ball into a flat circle.
7. Cut the circle into hexagon shape using a craft knife.
8. Bake it for a maximum of 30 minutes at a temperature of 110°C/230°F.
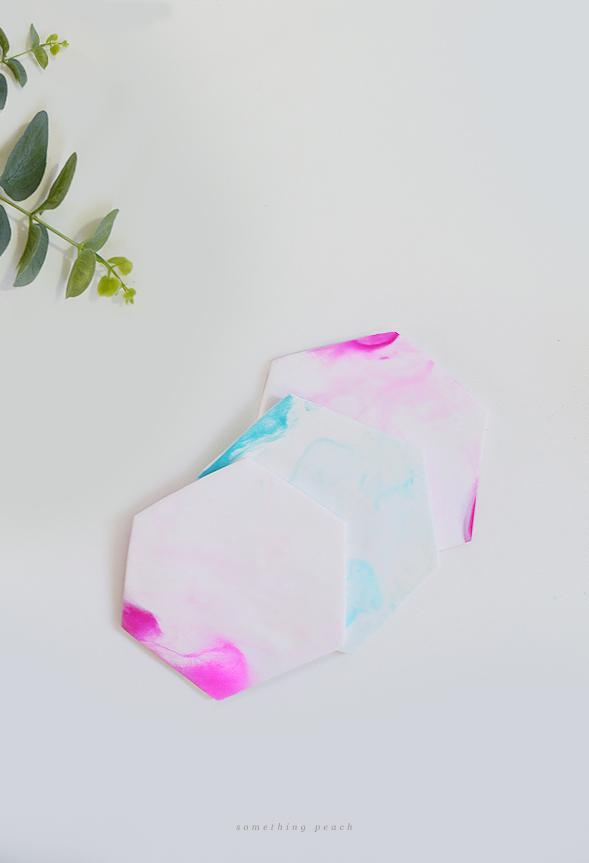
9. Let it cool and enjoy!
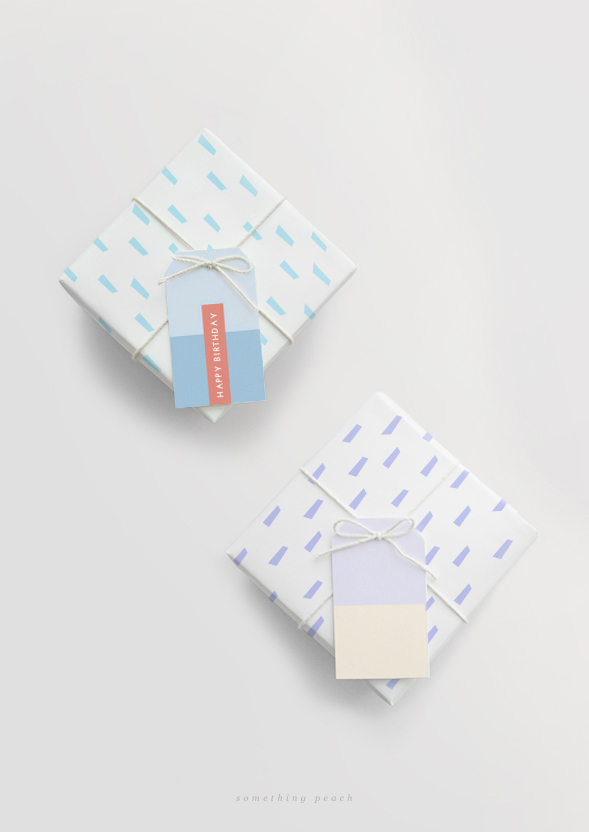
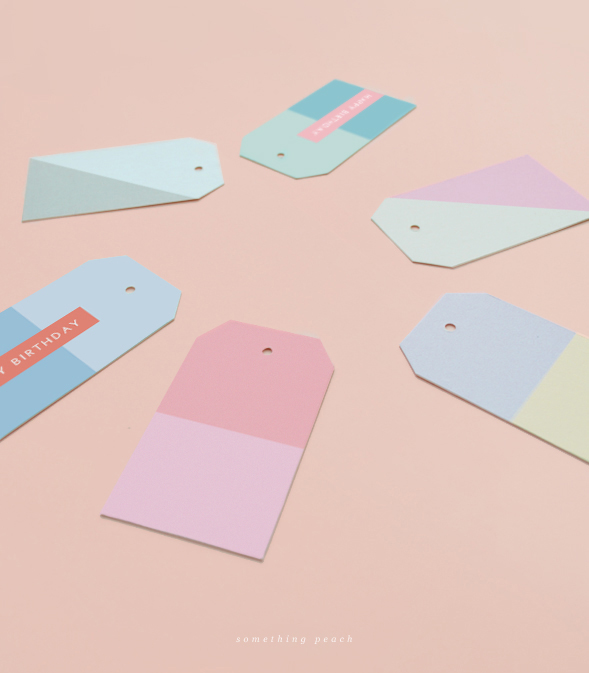
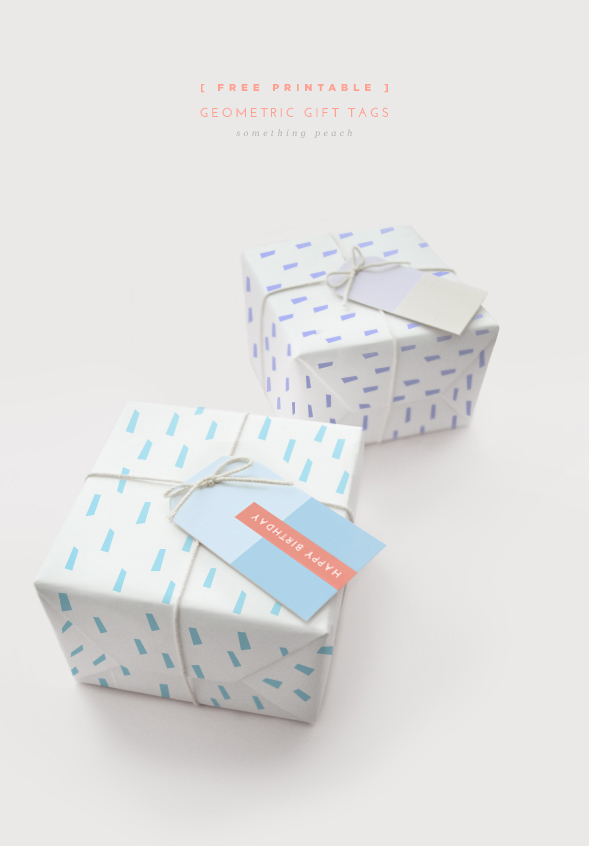 Hopefully you are not sick of geometric DIY yet! I’ve been meaning to make gift tags for a long time and finally made them, yay! Simply download template, cut them out and adorn your present with them! Enjoy!:)
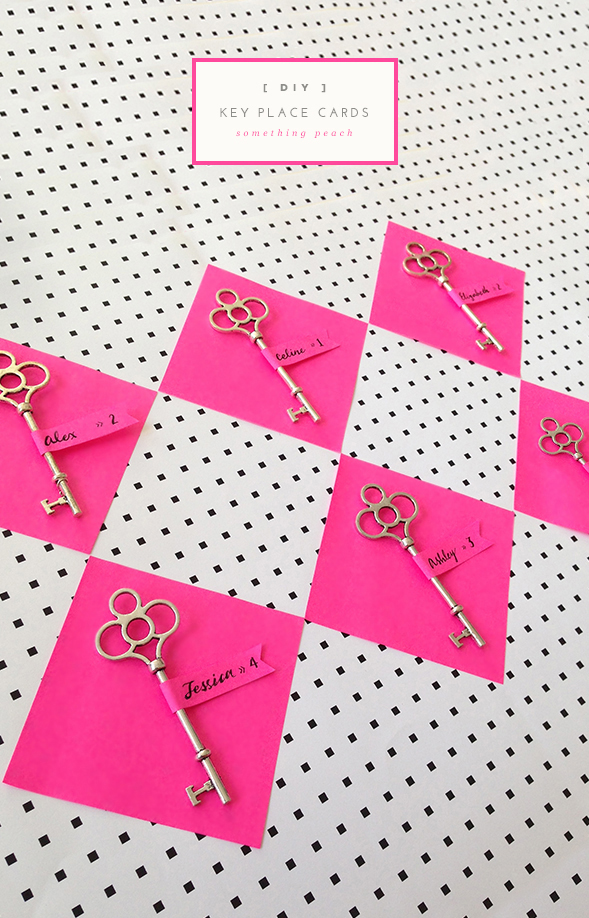
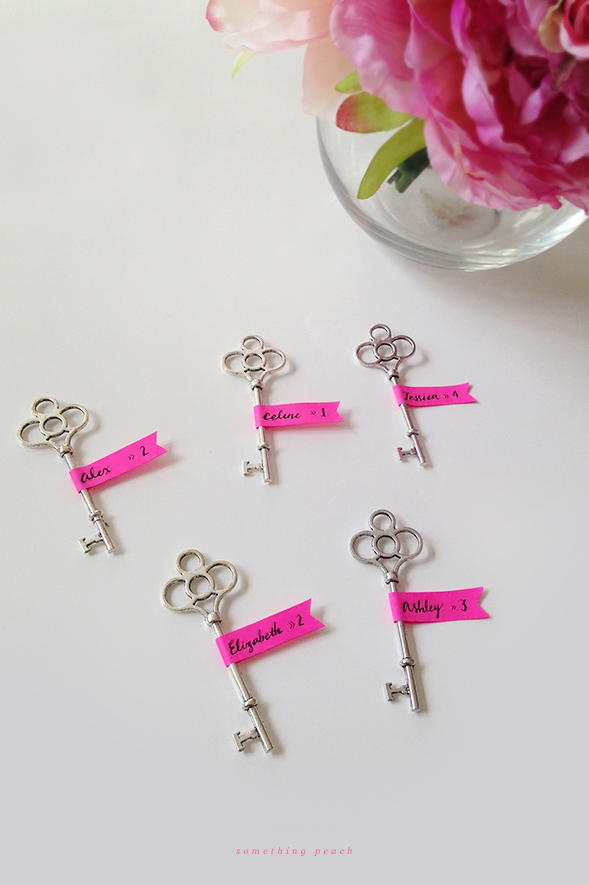
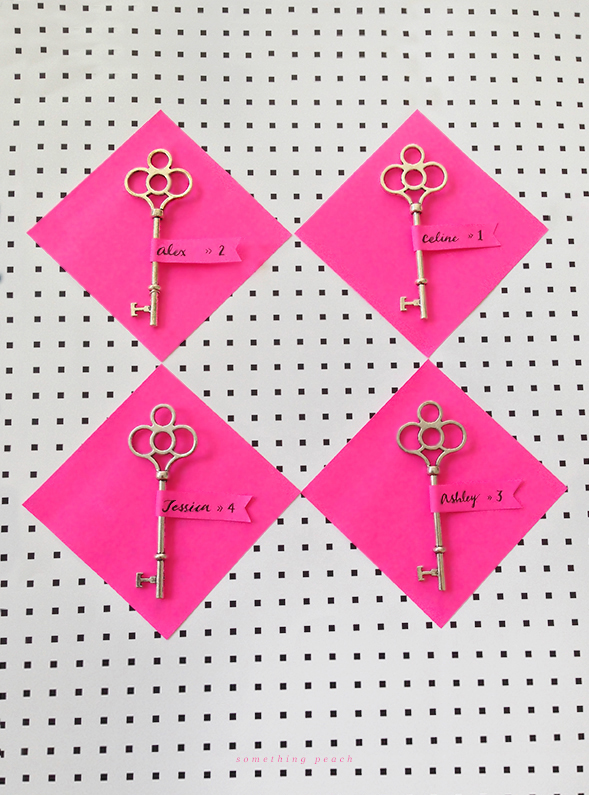
I found cool key charms the other day at a jewellery supply shop near my work and just needed to make something with them. They combined great with bright post-it notes, complementing each other perfectly to make place cards that are suitable for any occasion!
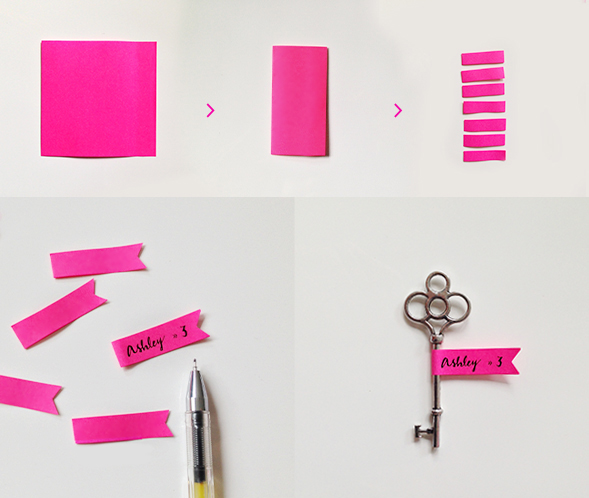
What you need
– Key charms
– Post-it notes
– Pen
– Scissors
– Glue stick
How to make it
1. Fold a post-it note in half.
2. Cut the folded post-it note into thin strips then cut a triangle out of one side to create a flag’s edge.
3. Write your guest’s name
4. Wrap the post-it around the key charm, glue both sides
5. Enjoy!
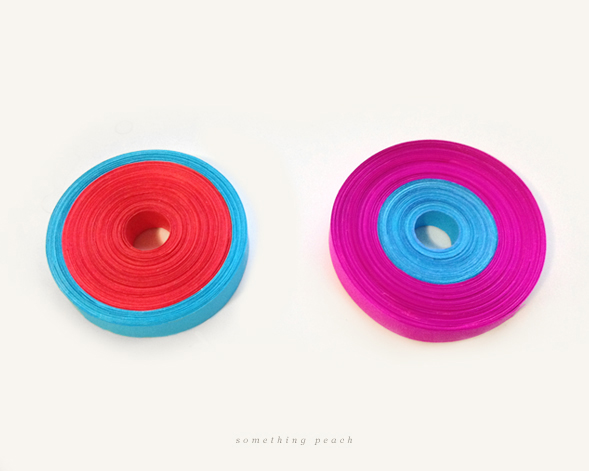
I attempted to make coiled coasters using paper the other day and failed miserably! (See the image below) I loved the colour combination and the amazing shapes created…BUT they are only half size of normal coasters and took me good 3 hours to make them. I just couldn’t continue this tedious journey knowing that no one would want to try making them.
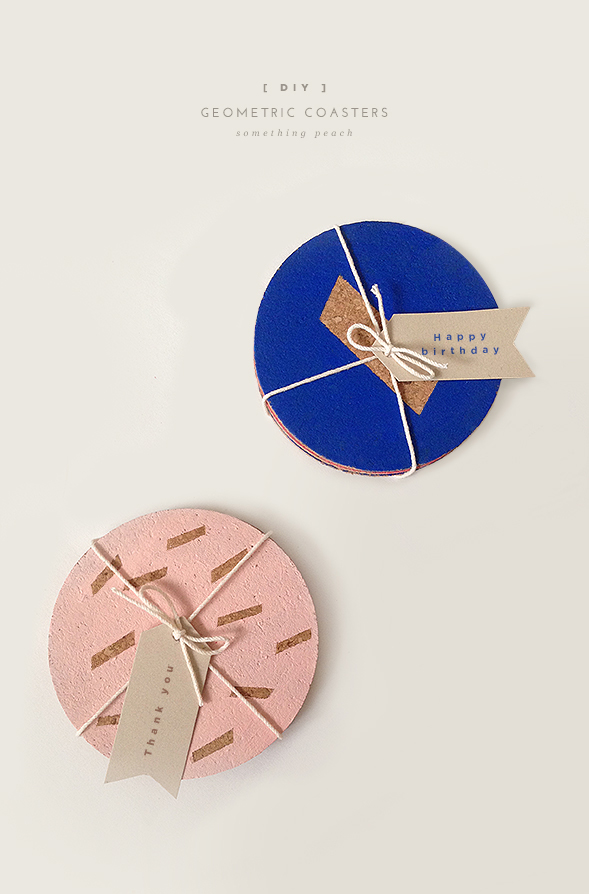
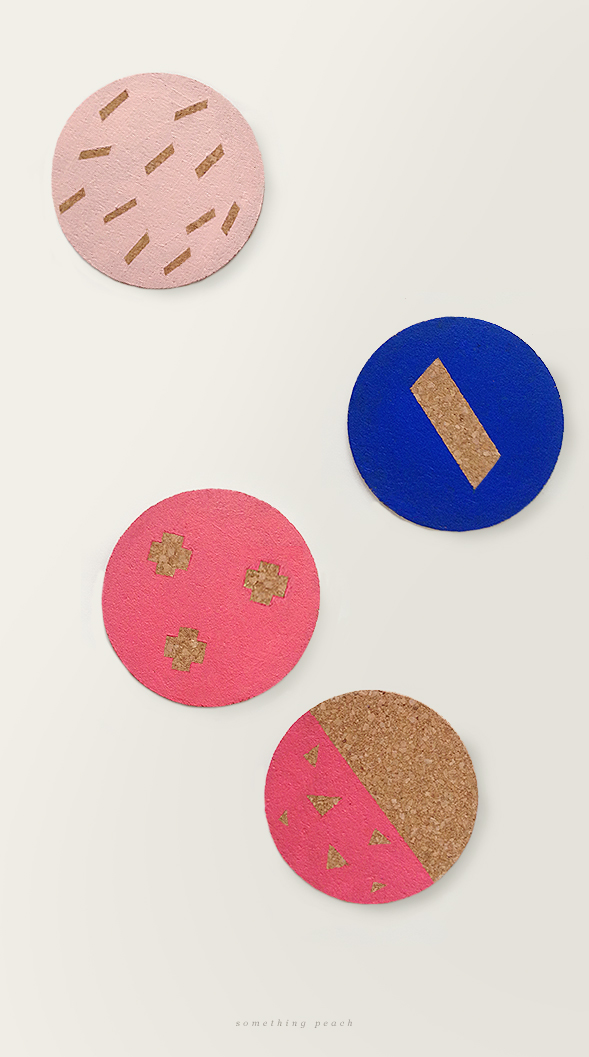
So I decided to go with a lot easier option: Buying coasters and painting them! It takes less than 20 minutes to make them, very fun and easy process. These coasters are great for parties and make the perfect gift too! 🙂
What you need
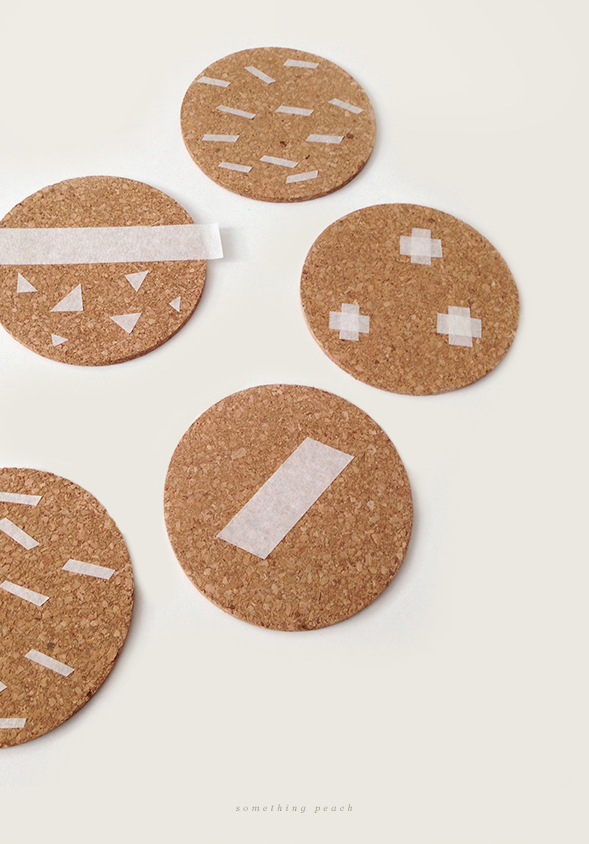
– Cork coasters (I got 6 of them for $2.50 at a local two dollar shop)
– Masking tape
– Scissors
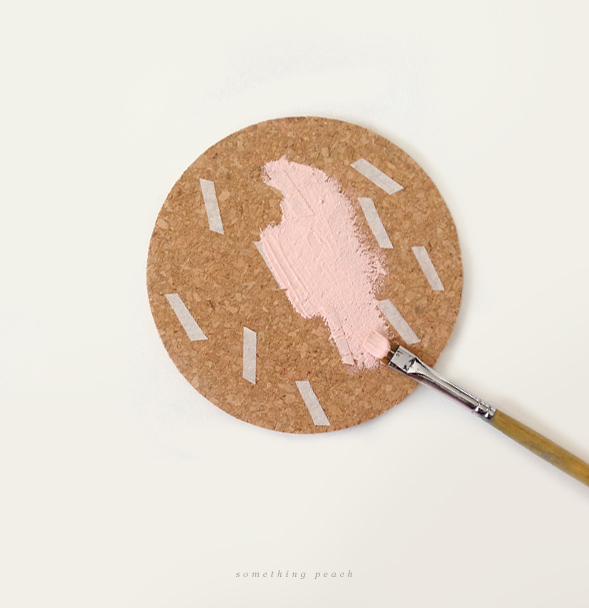
– Acrylic paint
– Paint brush
How to make it
1. Create patterns with masking tape.
2. Using a brush, apply a thin layer of acrylic paint. Make sure it’s evenly coated and add a few more layers if needed.
3. Let it dry
4. Remove the tape
6. Enjoy!
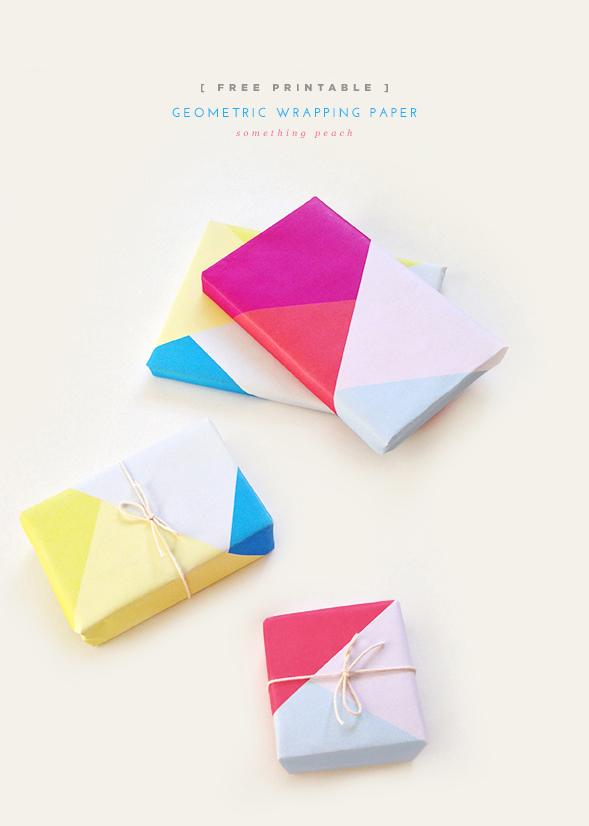
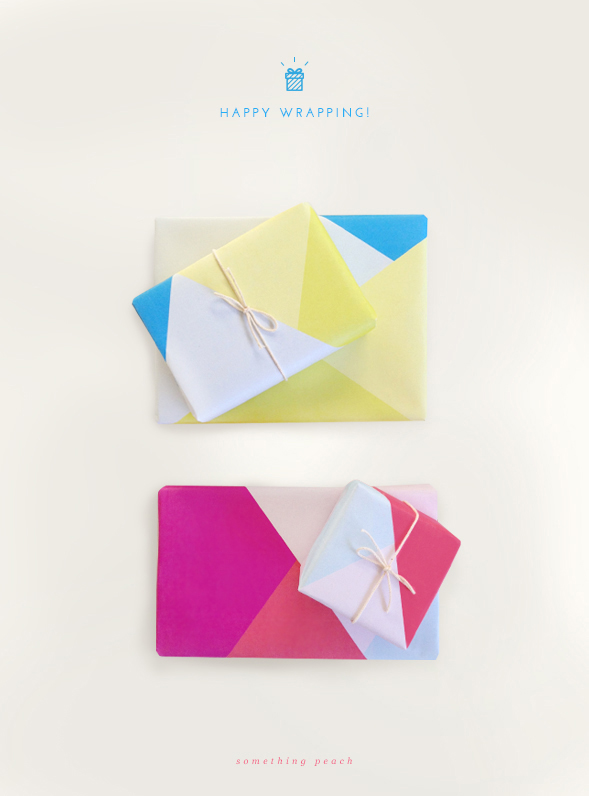
I’ve created free printable gift wrapping paper to continue my love for geometric shapes. Wrapping paper can be pricey, so why don’t you print your own to save money?
Simply download template and wrap however you like. Personal use only please. Enjoy wrapping!
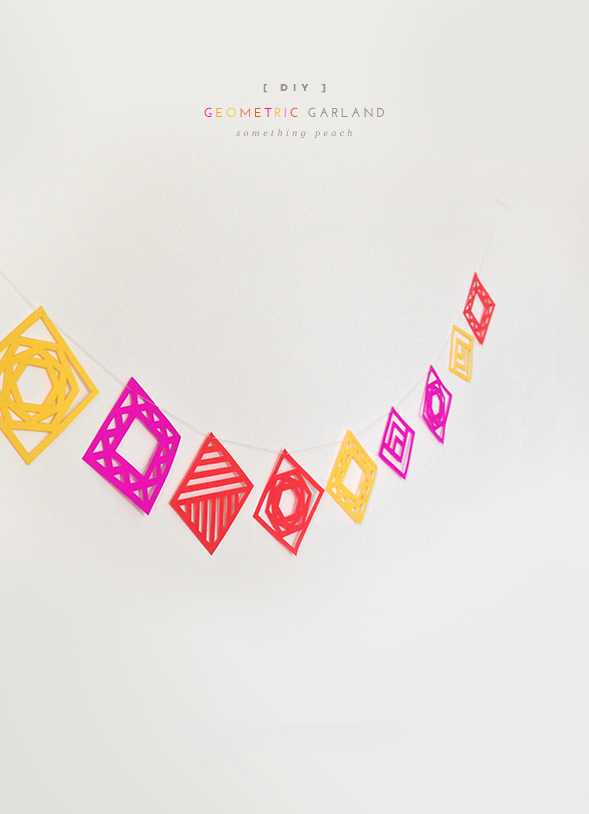
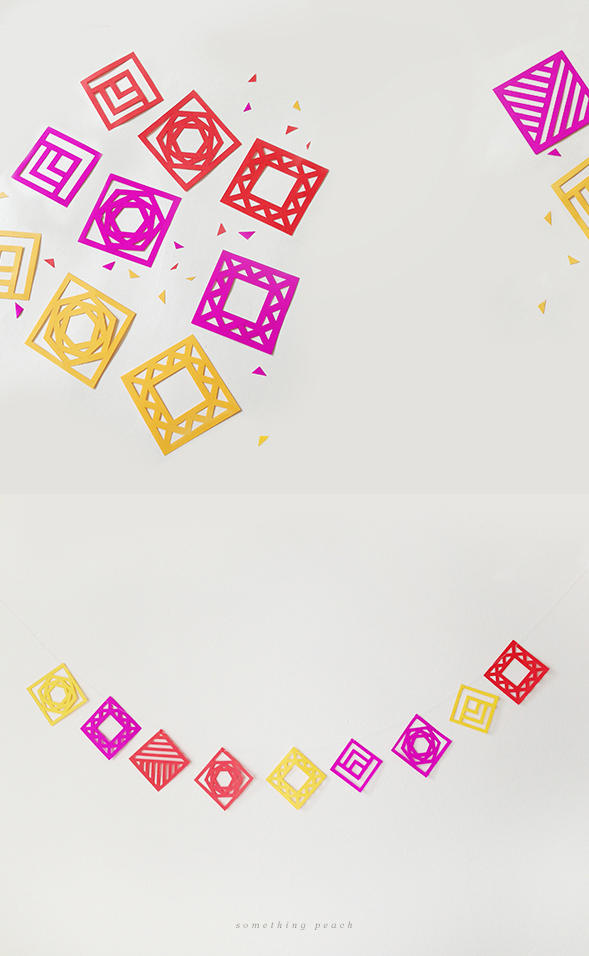
Happy Saturday! Today I felt like making something bright and delightful to get though this gloomy weather. I further explored my geometric inspiration post dated a few weeks ago and decided to make this cute and super easy geometric garland. It can be used to spice up your place, and can be perfect for special occasions; birthdays, baby showers and weddings and more… Feel free to play with different colour combination to create your own special garland:)
– A4 Coloured paper
– Cutting mat
– Ruler
– Craft knife
– String
– Scissors
– tape
How to make it
1. Download template (pdf)
2. Print the template on coloured paper
3. Carefully cut out the shapes
4. String the shapes onto a string
5. Hang up your garland with tape
6. Enjoy the party!
© 2014 somethingpeach | Site designed by Jinny Park | Themed by Mr Legacy
