craft
craft
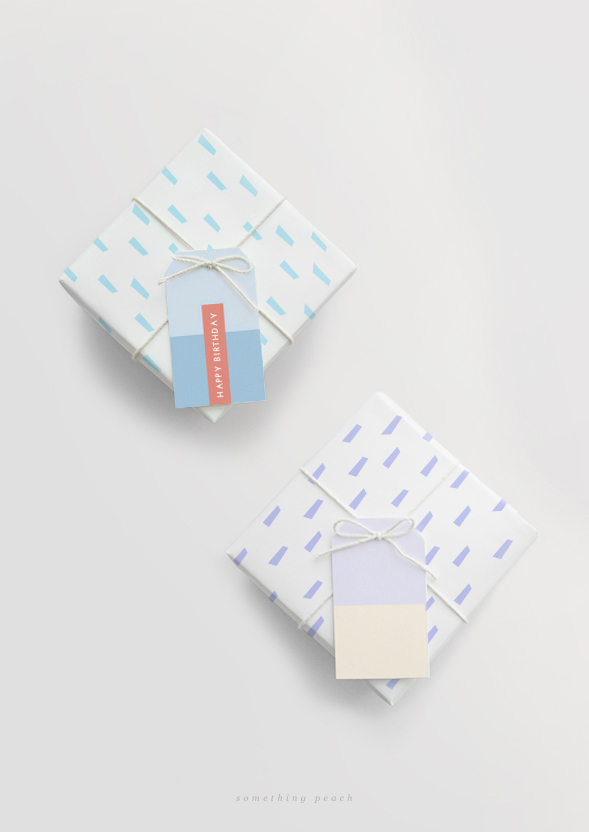
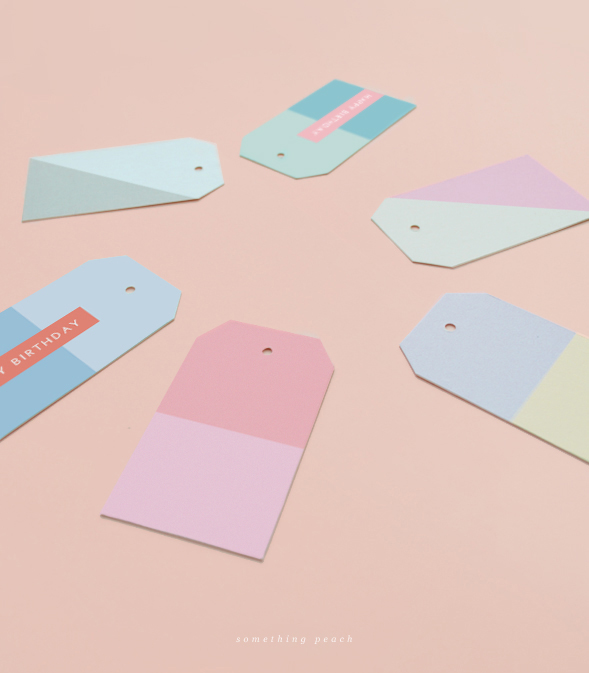
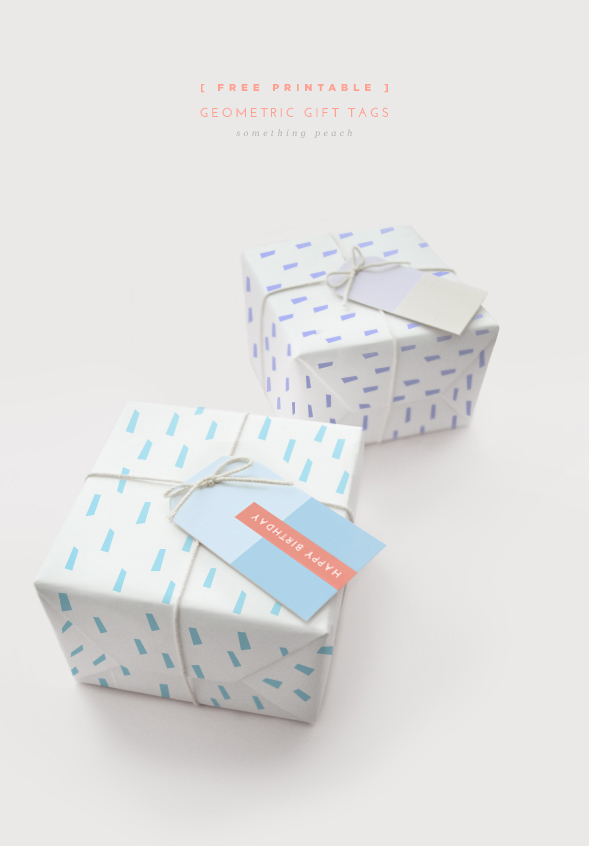 Hopefully you are not sick of geometric DIY yet! I’ve been meaning to make gift tags for a long time and finally made them, yay! Simply download template, cut them out and adorn your present with them! Enjoy!:)
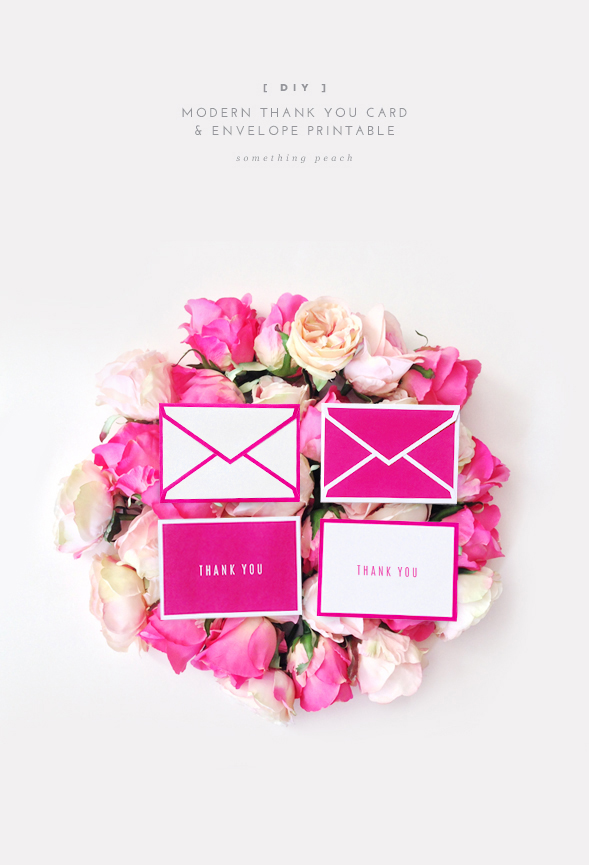
I have always enjoyed crafting, I remember making endless things day in and day out with paper when I was in middle school. My creations were letters, envelopes, pencil cases, notepads, flowers and varieties of boxes. I believe my craft skills were defined by folding, cutting and experimenting with paper in general. Normal envelopes were boring to me, and STILL are, so I always made special envelopes matching the theme of the card or letter.
It’s been a while since I have made anything from paper, I really enjoyed this entire process from template design to completing these cards and envelopes.
– A4 paper
– Cutting mat
– Ruler
– Craft knife
– Glue stick
How to make it
1. Download template (pdf)
2. Print the template
3. Cut
4. Fold and glue
5. Enjoy!
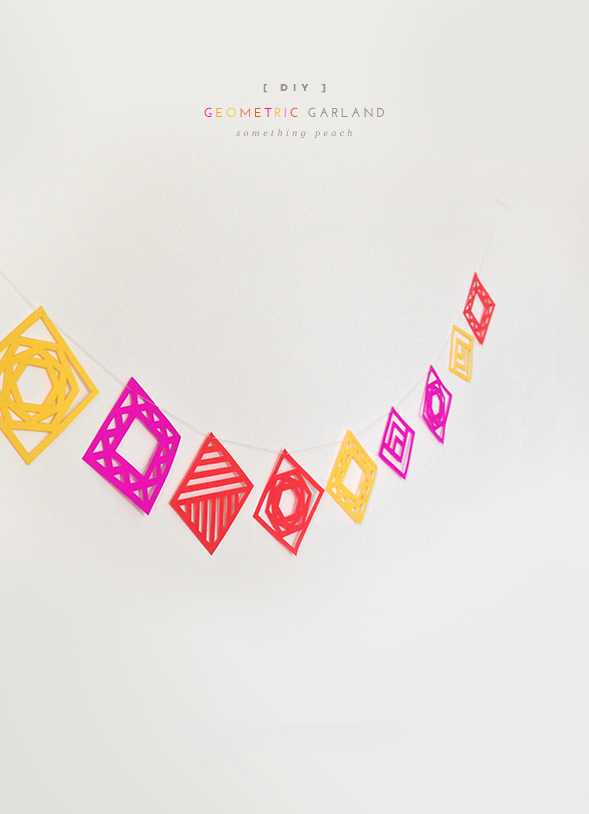
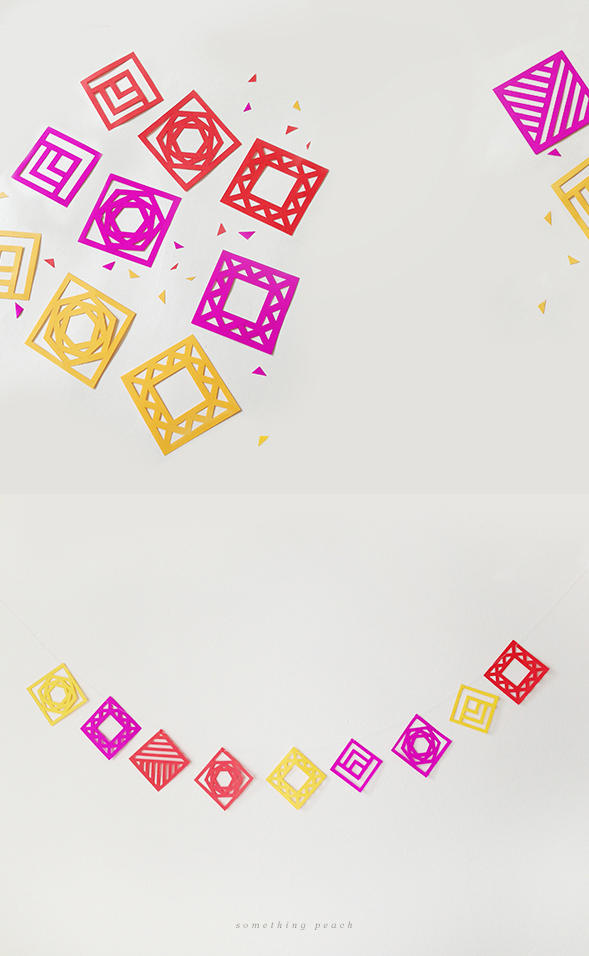
Happy Saturday! Today I felt like making something bright and delightful to get though this gloomy weather. I further explored my geometric inspiration post dated a few weeks ago and decided to make this cute and super easy geometric garland. It can be used to spice up your place, and can be perfect for special occasions; birthdays, baby showers and weddings and more… Feel free to play with different colour combination to create your own special garland:)
– A4 Coloured paper
– Cutting mat
– Ruler
– Craft knife
– String
– Scissors
– tape
How to make it
1. Download template (pdf)
2. Print the template on coloured paper
3. Carefully cut out the shapes
4. String the shapes onto a string
5. Hang up your garland with tape
6. Enjoy the party!
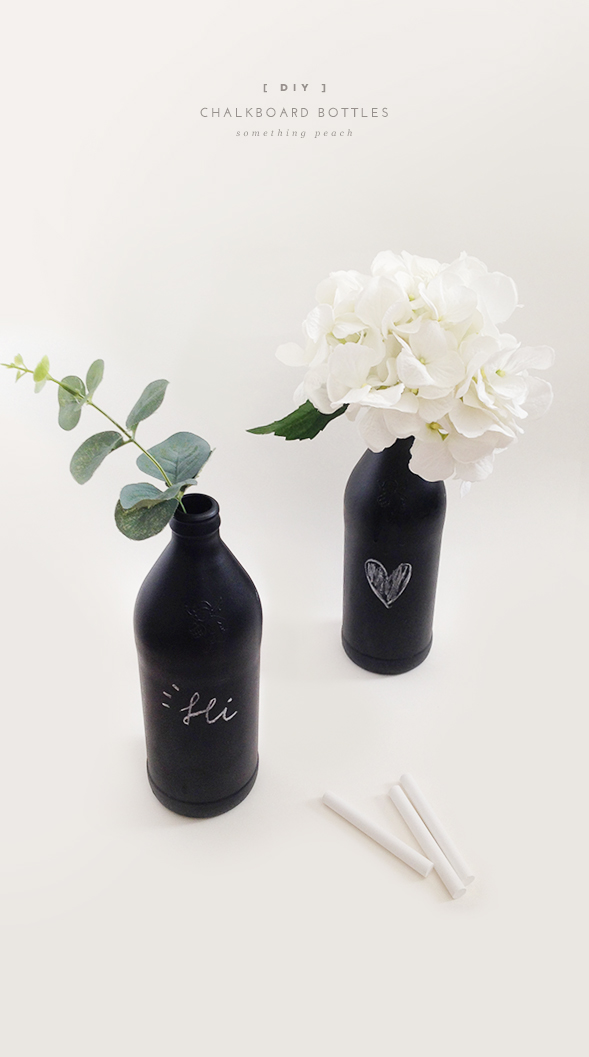
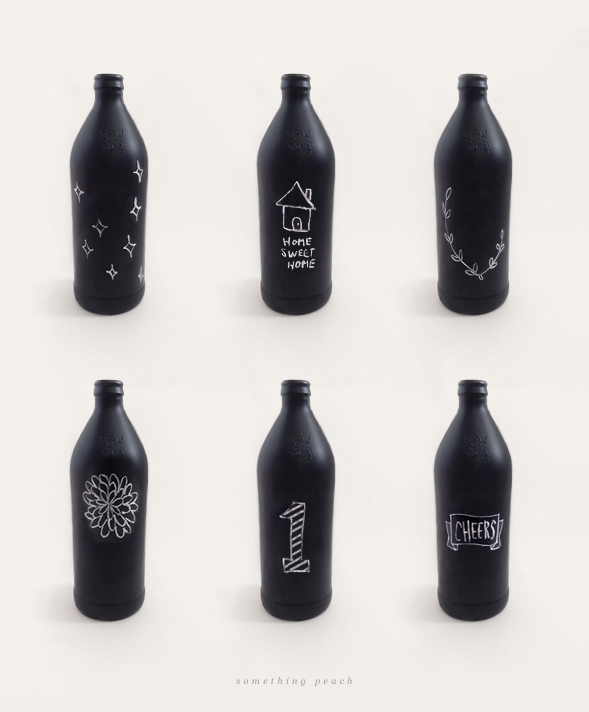
I’m very excited to post this lovely project I’ve been wanting to do for some time. I saw a few DIY chalkboard projects using chalkboard paint, and I thought I wouldn’t be bothered with purchasing paint & brush then painting the object. Although I love painting, however when it comes to DIY; I want things to be done easily with as minimal effort as possible. So I did some research…then BOOM! I introduce to you the wonderful chalkboard spray paint, you will be surprised as to how easy something can be turned into a chalkboard.
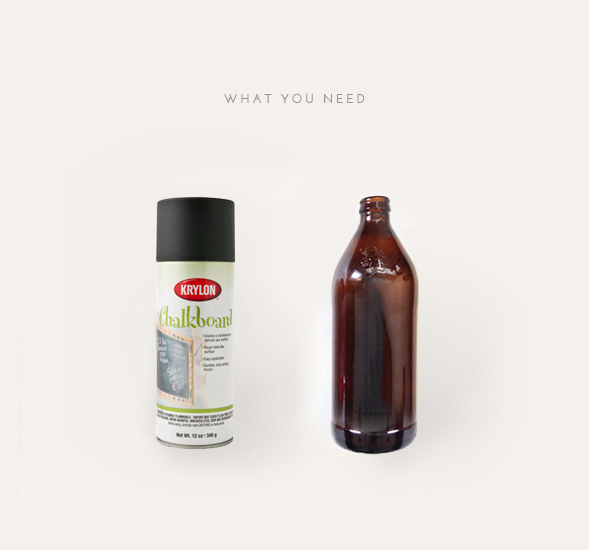
What you need
– Chalkboard spray paint – Empty bottles / I used Little Creatures’ Pale ale bottles (Labels removed) – Chalk
How to make it
1. Remove the labels from the bottle. There are so many different ways to remove labels and if you have your preference, by all means go with it. My favourite way to remove the labels is to soak the bottle in the warm water for 5-10 min and rub the label off with a coarse side of a sponge. Once the bottle is completely dry, the fun begins!
2. Spray the bottle. Follow the instructions on the back of the spray. The paint was very opaque and dried quite fast, therefore only 2 coats were required.
3. Let it dry for 24 hours
4. Play with chalk!
5. Enjoy!
© 2014 somethingpeach | Site designed by Jinny Park | Themed by Mr Legacy
