Colour Remedy // 007
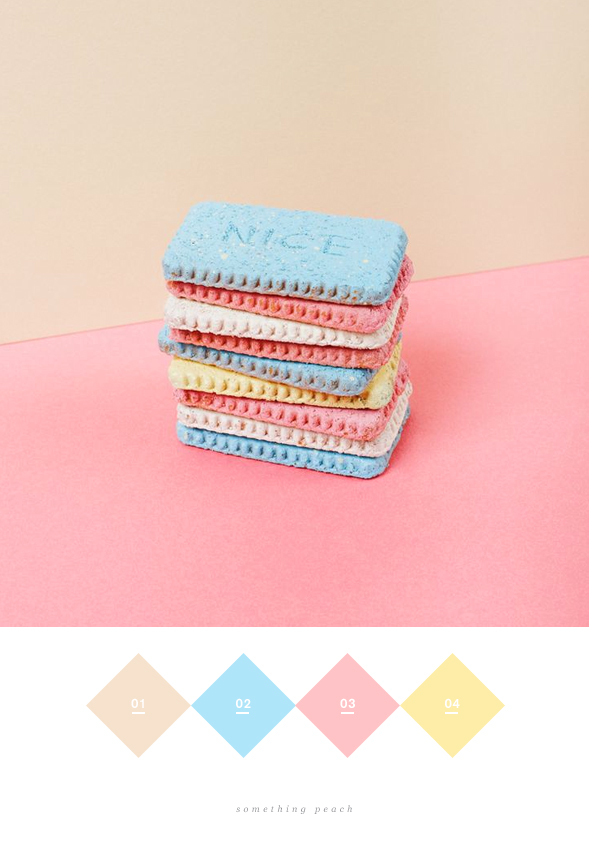
How sweet are these colours? I’m gonna have some lollies now!
Image by Karine Fortier

How sweet are these colours? I’m gonna have some lollies now!
Image by Karine Fortier
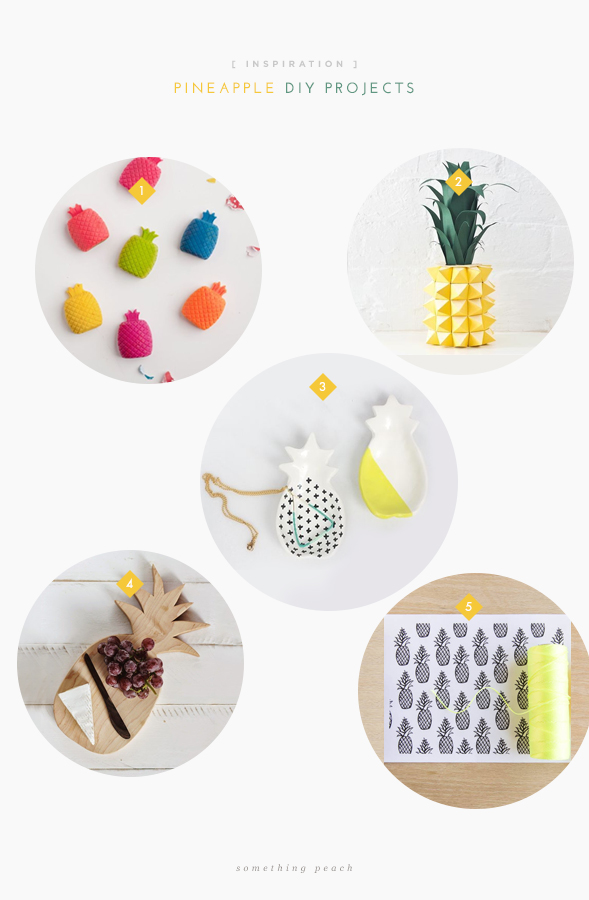
Happy Tuesday! Today I want to share some cool pineapple DIY projects I found recently. Who would’ve thought that pineapples would be the biggest trend? They are popping up everywhere from straws to cushions and clothes, and certainly took over the DIY world. They are super fun, colourful, bold and make great party decorations. Enjoy!
1. Pineapple Crayons – Tell love & Chocolate // 2. Pineapple Piñata – Studio DIY // 3. Pineapple Ring Dish – Jade and Fern // 4. Pineapple Cutting board – Poppytalk // 5. Free Printable Pineapple Wrapping Paper – Alice DiRago
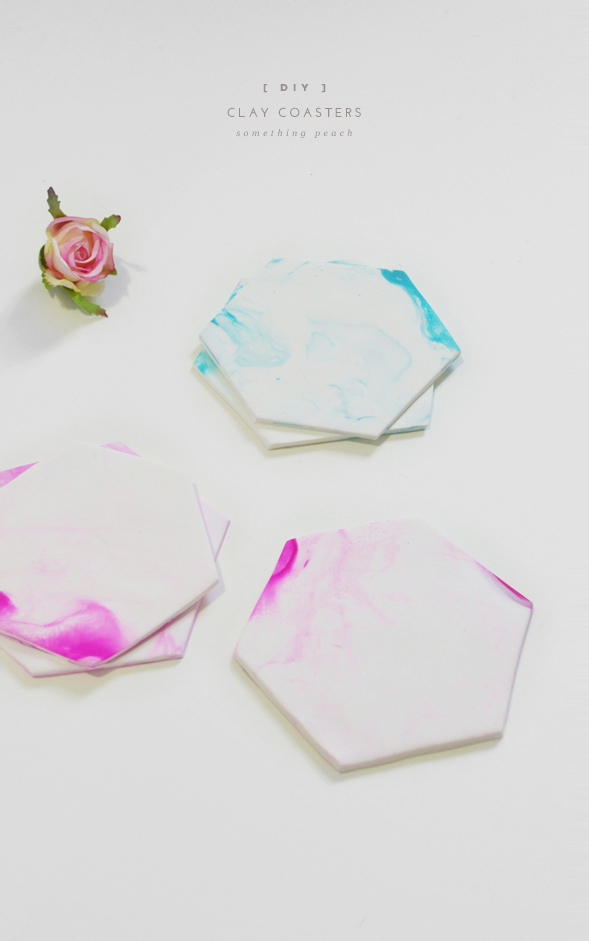
I was meant to post this project 2 days ago, but wasn’t able to because I was sick. I really dislike being sick, not being able to do anything and feeling completely helpless. It was very frustrating, especially when I had planned many things to do. I knew I wasn’t going to be productive no matter what I tried, so I decided to focus on my recovering by attempting nothing but sleep and meditation, leaving my phone and computer behind. I’m still in recovery mode but feel much better and in a brighter mood to resume blogging:)
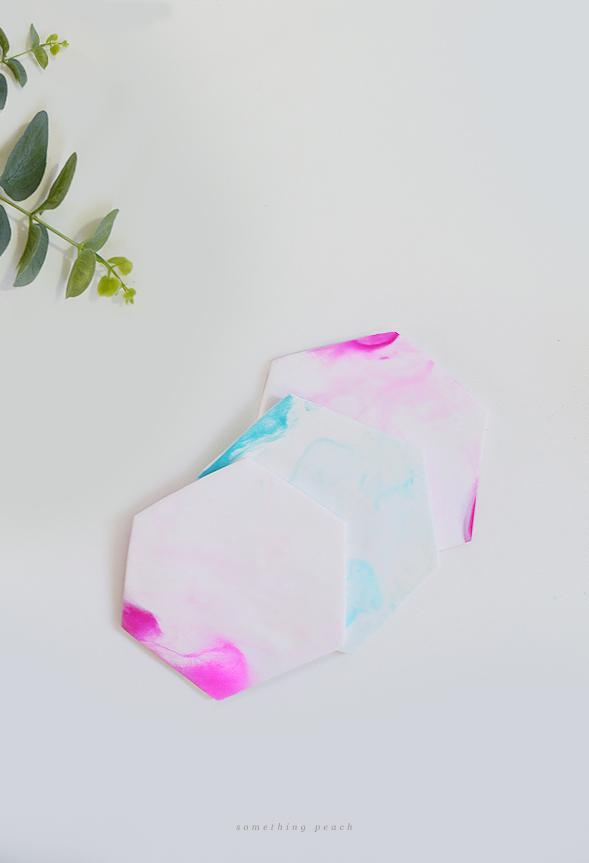
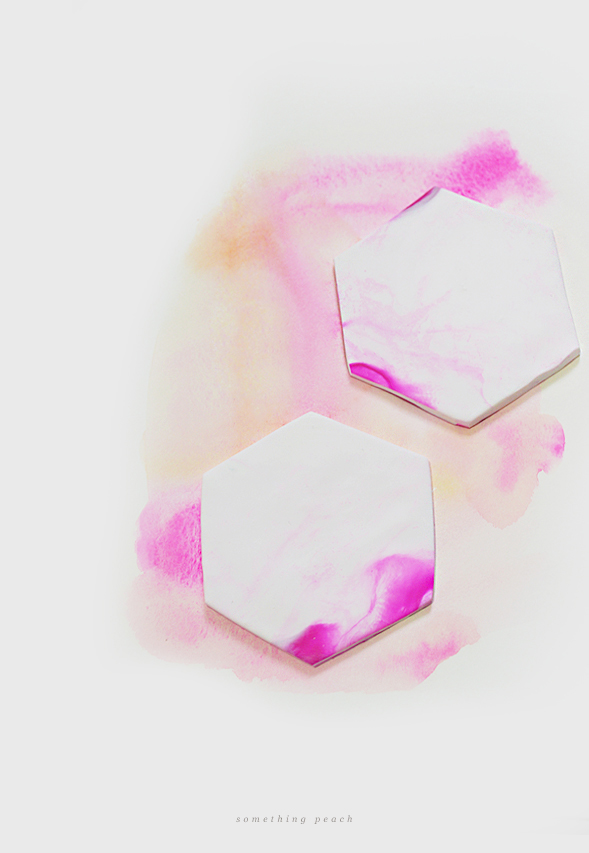
Hope you are feeling healthy and well, motivated and ready to enjoy tackling this project!:) If you are looking for another similar DIY project, you can check out my first coaster project I posted a while ago.
What you need
– FIMO soft polymer modelling clay – White 350g & and Raspberry 56g (Enough for 5 coasters)
– Rolling pin
– Craft knife
– Oven
How to make it
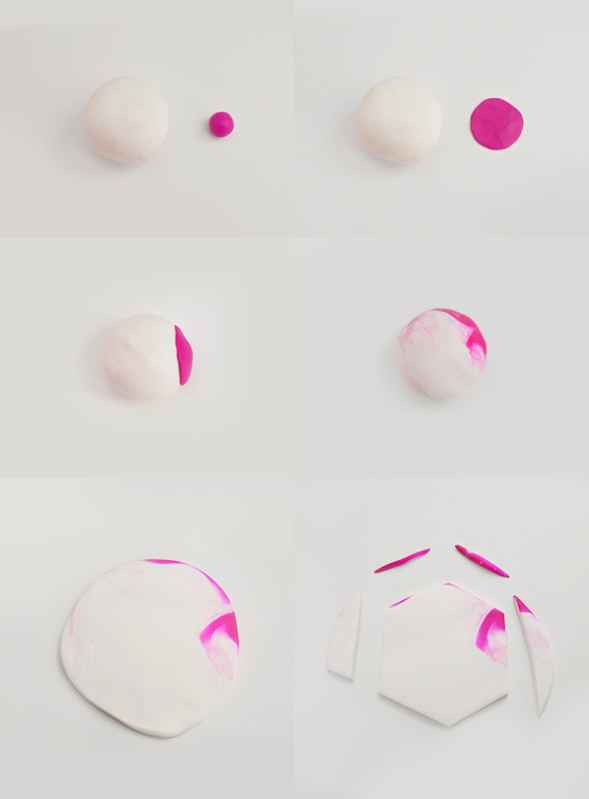
1. Roll the clay into a ball. Combine colours to your preference. (I used 1/5 of the white clay and just a small piece of raspberry clay.)
2. Flatten the raspberry ball into a flat circle. It’s quite small so you can easily do this using your hands.
3. Stick the raspberry circle on the side of the white ball.
4. Gently rub raspberry piece over the white ball in one direction to remove the harsh edge between the two. (I really wanted a water colour effect rather than a typical marble effect, so I experimented many times to find the best way to achieve this effect!)
5. Keep rubbing until you get the desired pattern.
6. Use a rolling pin or a similar tool to roll the ball into a flat circle.
7. Cut the circle into hexagon shape using a craft knife.
8. Bake it for a maximum of 30 minutes at a temperature of 110°C/230°F.
9. Let it cool and enjoy!
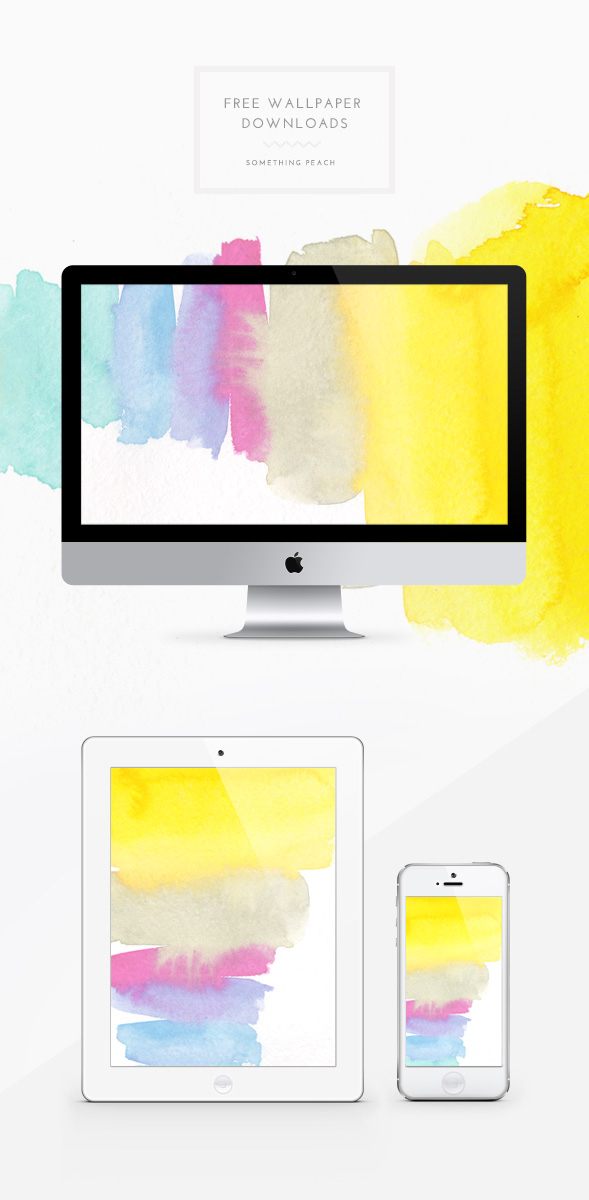
I had too much freelance work last week that completely drained me and I just couldn’t come up with anything for the blog. Playing with bright water colours always brightens up my mood and it worked great for me today, so I’m spreading my happy vibes to you through this beautiful wallpaper:)
Download this wallpaper for all your devices:
2880 x 1800 Retina // 2560 x 1440 // 1440 x 900 // iPad // iPhone
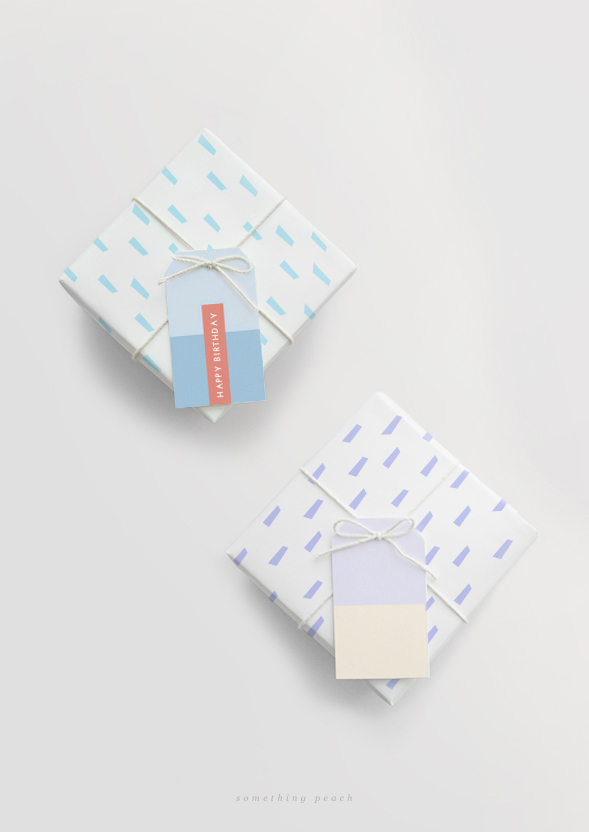
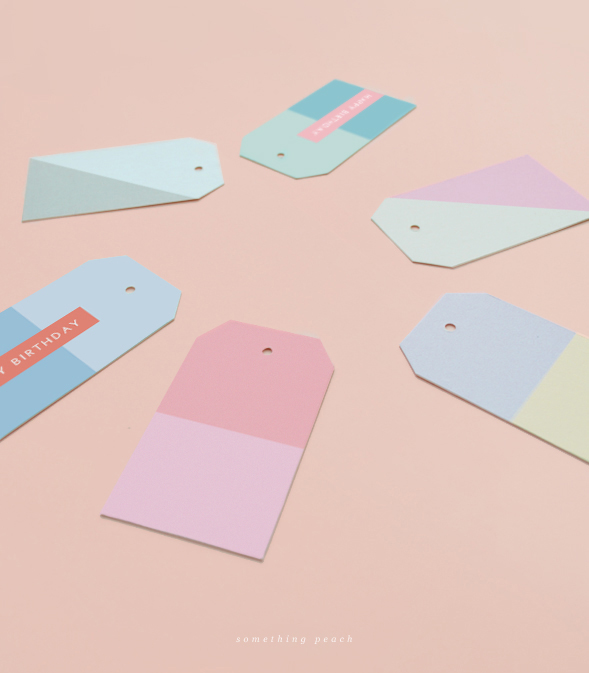
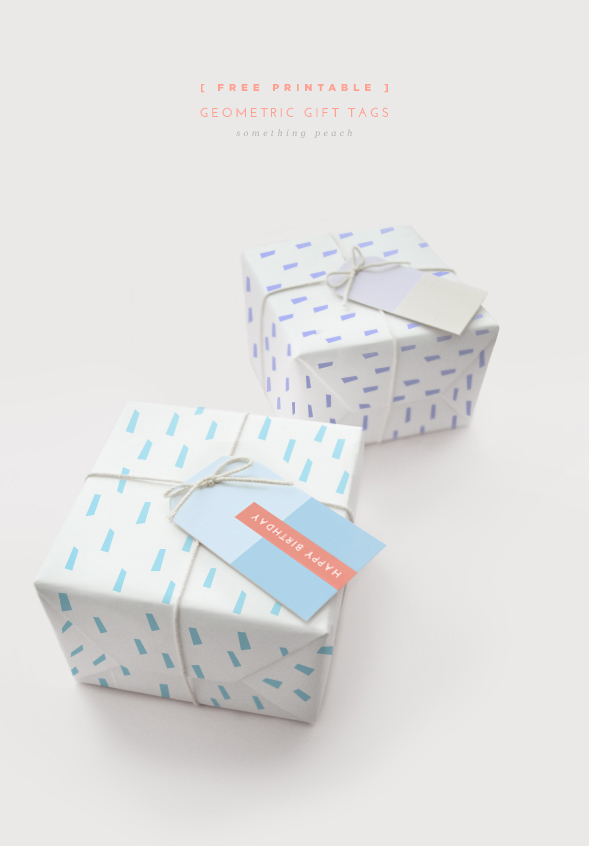 Hopefully you are not sick of geometric DIY yet! I’ve been meaning to make gift tags for a long time and finally made them, yay! Simply download template, cut them out and adorn your present with them! Enjoy!:)
 In love with hot pink colour, so pretty!
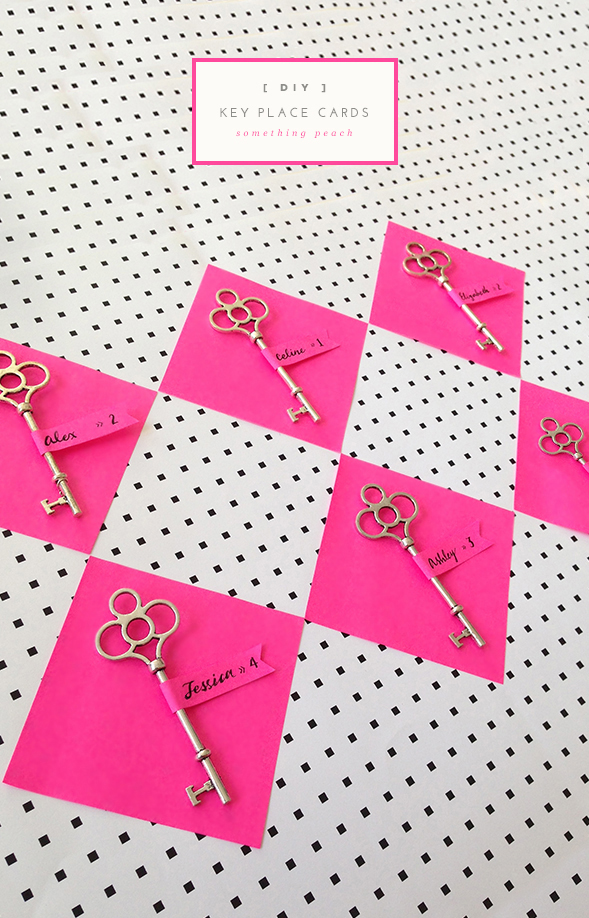
I found cool key charms the other day at a jewellery supply shop near my work and just needed to make something with them. They combined great with bright post-it notes, complementing each other perfectly to make place cards that are suitable for any occasion!
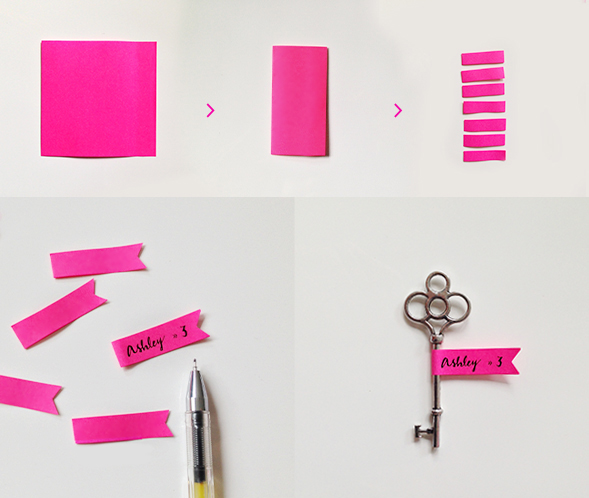
What you need
– Key charms
– Post-it notes
– Pen
– Scissors
– Glue stick
How to make it
1. Fold a post-it note in half.
2. Cut the folded post-it note into thin strips then cut a triangle out of one side to create a flag’s edge.
3. Write your guest’s name
4. Wrap the post-it around the key charm, glue both sides
5. Enjoy!
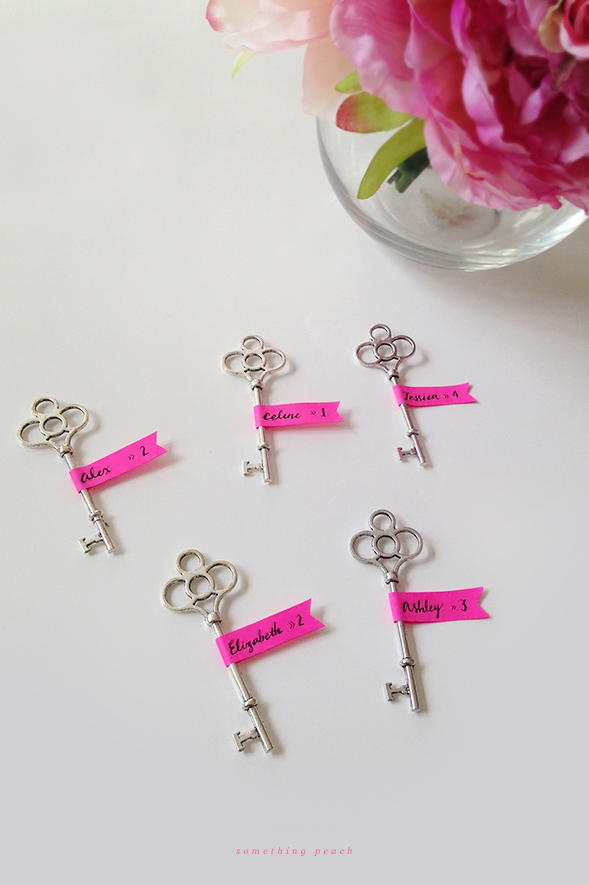
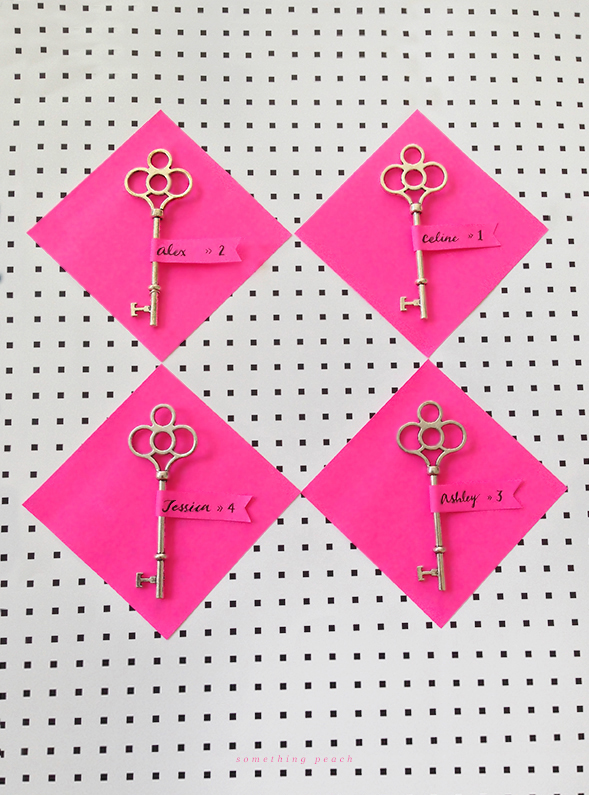
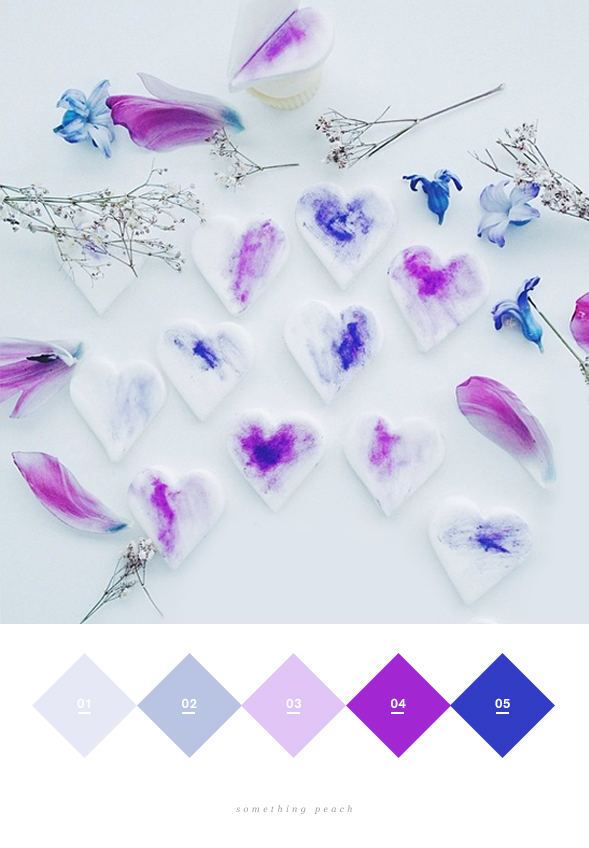
I discovered a talented dessert designer via instagram. Her desserts are very unique and beautiful, I just love the way she uses colours… so brilliant!
Image by Nectar & Stone
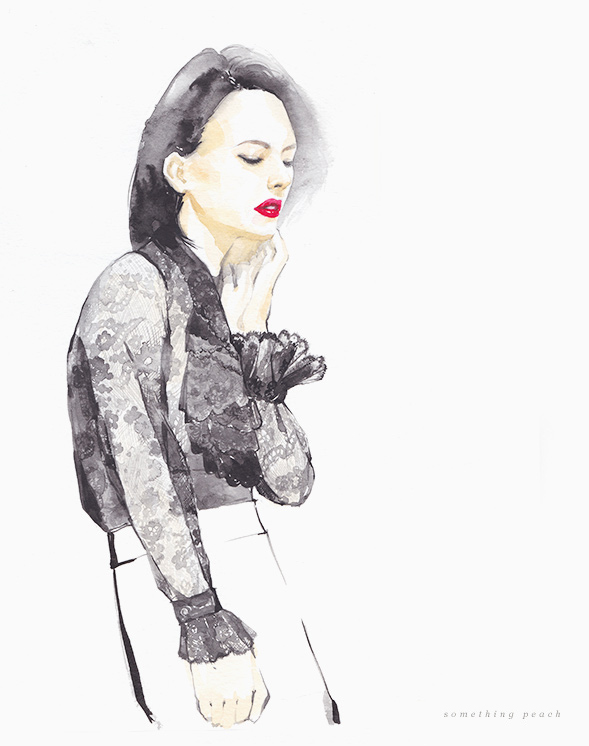
I love lace but never thought it would be this difficult to paint! My eyes were all red after finishing the painting, but I guess it was worth the effort:)
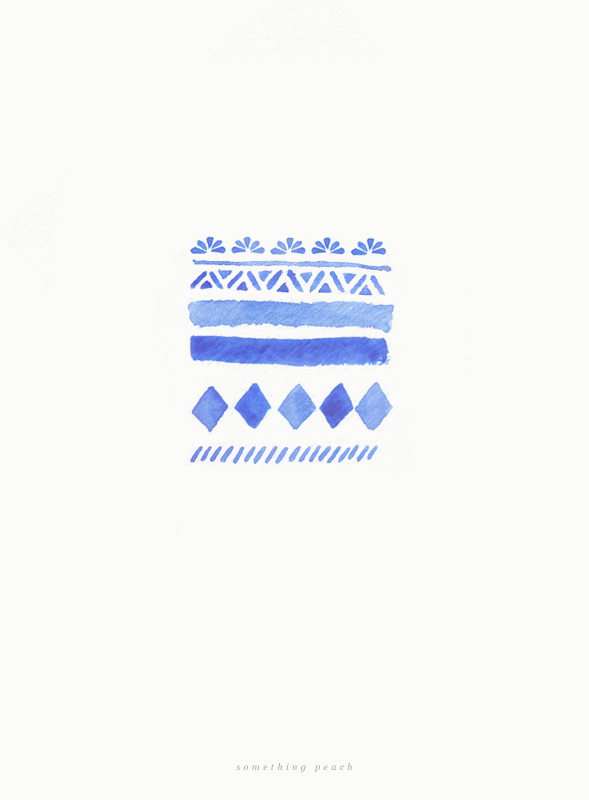
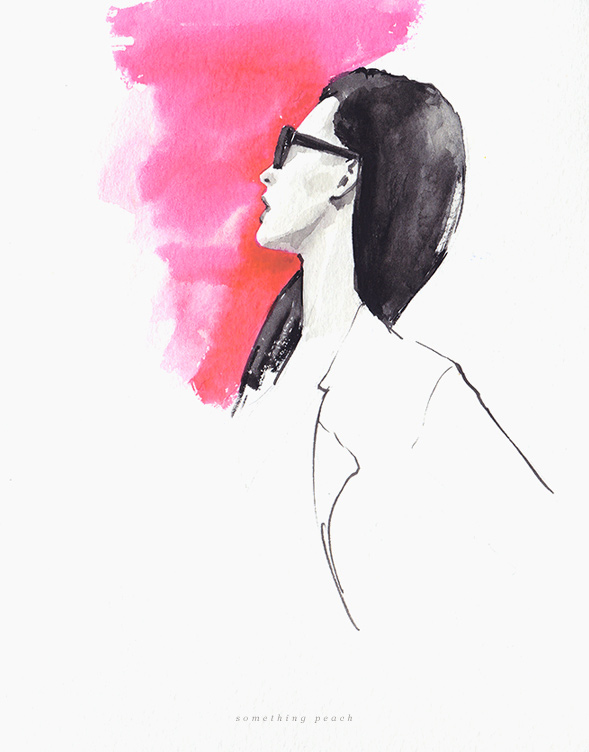
Just having fun with watercolour paint:) It’s good to take some time off from portrait painting!
© 2014 somethingpeach | Site designed by Jinny Park | Themed by Mr Legacy
